Hello and welcome back to the Vandemonian homesteader.
I hope that, despite all that seems to be going on in the world, life has still been treating you well over the past few months.
It’s safe to say that the initial post I had planned on uploading has been put on the back burner for now. As it currently stands, the spot I had picked out for the garden turned out not to be as suitable as I had first thought. I have also been hindered by the difficulty of collecting the materials needed to build a wildlife-proof fence. As it stands, I have two options: a wire fence or a fence made from roofing iron. Both have their pros and cons, but the roofing iron fence is potentially going to be the cheaper option if I can get enough iron at the right price, which is the hard part. But I will cover all of that in greater depth later.
So, while I work to iron out the kinks, I wanted to share an old idea I have used successfully in the past that has suddenly become useful again.
The idea
Previously, while living in a small studio apartment, I filled some containers with soil and planted seeds, making myself a small herb garden.
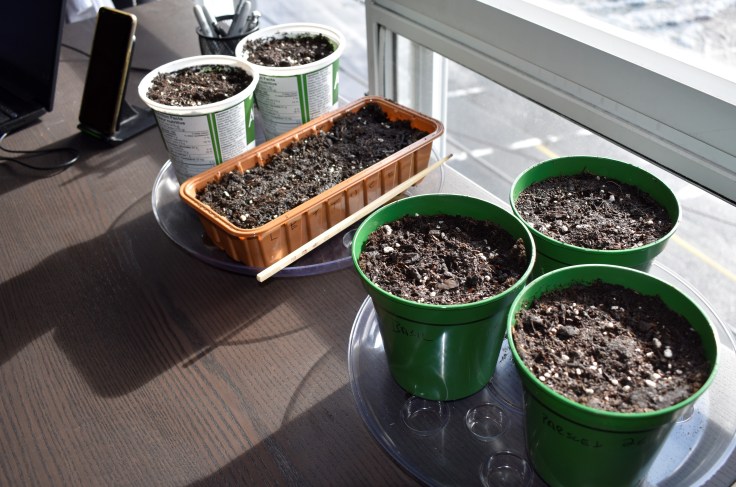
Now, while this didn’t provide all the nutrients my body needs, it did allow me to add a little more to my meals, which not only improved nutrition but, more importantly, boosted morale at a time when it was needed. At the time, my limited kitchen (a single Instapot) and budget meant I was mostly eating a lot of soups, stews and curries, or wet dishes as they are called. Something served in a bowl with a chunk of bread used for dipping and mopping up the leftovers. As you can imagine, though, eating only wet dishes can get tiresome, boring even.
The extra flavour, aroma, and pop of colour those herbs added to my meals were a fantastic way to boost my mealtime and morale, making them a little more enjoyable than eating the same thing over and over again. Not only that, but I was able to bring the joy, even if it was small, and the benefits of gardening to my dining table/desk. If you wish to revisit that post, it is available here.
Fast forward to today, and we find ourselves in a situation where, due to a few actions in a specific region of the world, oil and fertiliser prices have risen, and availability has dropped. Now I’m not an expert in either politics or economics, so I will spare you my thoughts on either topic. But what I will say is that times are getting tough for some folk, and this conflict isn’t helping.
Many warnings are being issued, not just in Australia but also in other parts of the world, about a potential disruption to our future food security, as the price of both diesel and fertiliser will significantly affect what farmers can produce, if they decide to produce anything at all.
This means that in the coming months, you may start to see the range and quality of produce start to go down, while the price of almost everything else in your supermarket will go up. Here in Tasmania, an island state where most of our food has to be shipped in, we have already started to see prices for most foods rise, but currently it’s difficult to tell whether that’s due to production, transport, or greedflation.
Thankfully, for those living in the Northern Hemisphere, now is the perfect time to start a garden to help supplement your diet or provide a little food security for your household. And for those in the southern hemisphere, as we go into winter, our options are limited, but there is still plenty we can sow.
And while I hope these warnings of food shortages are just fearmongering and worse case scenarios, I would rather be prepared for any tough times than not. Which is why I thought back to my tiny tabletop herb garden. It didn’t provide much, but it meant I was able to eat better because I was using my own herbs instead of the expensive, half dead, store bought packets I couldn’t afford, and at the end of the day, that helped both my budget and morale.
So, just as I did back then, I will prepare a series of pots for sowing seeds. However, unlike then, when I focused solely on growing herbs in a few pots on my table, today I will kick it up a notch and grow some small, quick-growing, container-friendly vegetables in larger planter pots. For people who have never grown anything before, this is a great way to start a new hobby. Growing in pots like this is a very beginner friendly way to dip your toes into the world of gardening without having to invest heavily in gardening equipment and supplies. It’s also fantastic for those who don’t have backyards and live in small apartments, as well as those who are renting and don’t want to spend time and money on putting in a garden that you will one day have to leave or, worst case scenario, risk upsetting your landlord.
“But why stick with containers?” I hear you ask. “Why not go all out and put in some new garden beds?” is a fantastic question. In the past, I was restricted by space; there was only so much room on my desk/dining table. And while I could technically go all out now, dig up my yard and put in new garden beds, growing significantly more, I won’t.
The reason for this is that I will be moving out to the block within the next couple of months. So, growing smaller pot-friendly plants seems the better alternative, as I can always harvest them all if they are ready, or if not, take the pots with me when the move finally happens. And until I am out there, I won’t plant any gardens because going back and forth every few days to care for them would quickly become a nightmare, especially with so much on my plate already.
So, once again, I will be working to add to and improve my diet, not replace it. However, if I weren’t about to move, I would be digging up the backyard and growing as much as I could. And in all honesty, if you have the space to do so, I would encourage you to do the same.
Get to growing
If space is not something you have in abundance, this would be the best place to start. The obvious downside, of course, is that you are limited in what you can grow. For this reason, depending on the size of the pots you get, I’d recommend growing herbs or plants with shallow root systems, which are ideal for growing in containers. If you’re unsure, many seed packets will state whether or not they are suitable for pots. Failing that, a quick Google search will no doubt have the answer. But from my own experience, most vegetables will grow happily in the right-sized pot; tomatoes, beans, and capsicums are a great example of this. Lettuces are also always a safe bet, as they grow quickly, have a shallow root system, and, depending on the variety you’ve chosen, use minimal space.
Because I am limited in the number of pots I can use (as much as I want more, I know I will regret it come moving day), and given that here in Tassie we are entering winter, I am pretty limited on what I can grow, so after a look through my seed collection and a quick consult of Peter Cundall’s planting and sowing guide. I decided on the following,
- Rocket (arugula)
- Red and Green lettuce
- Chinese Mustard (gai choy)
- English spinach
- Red pack choy
- Choy sum
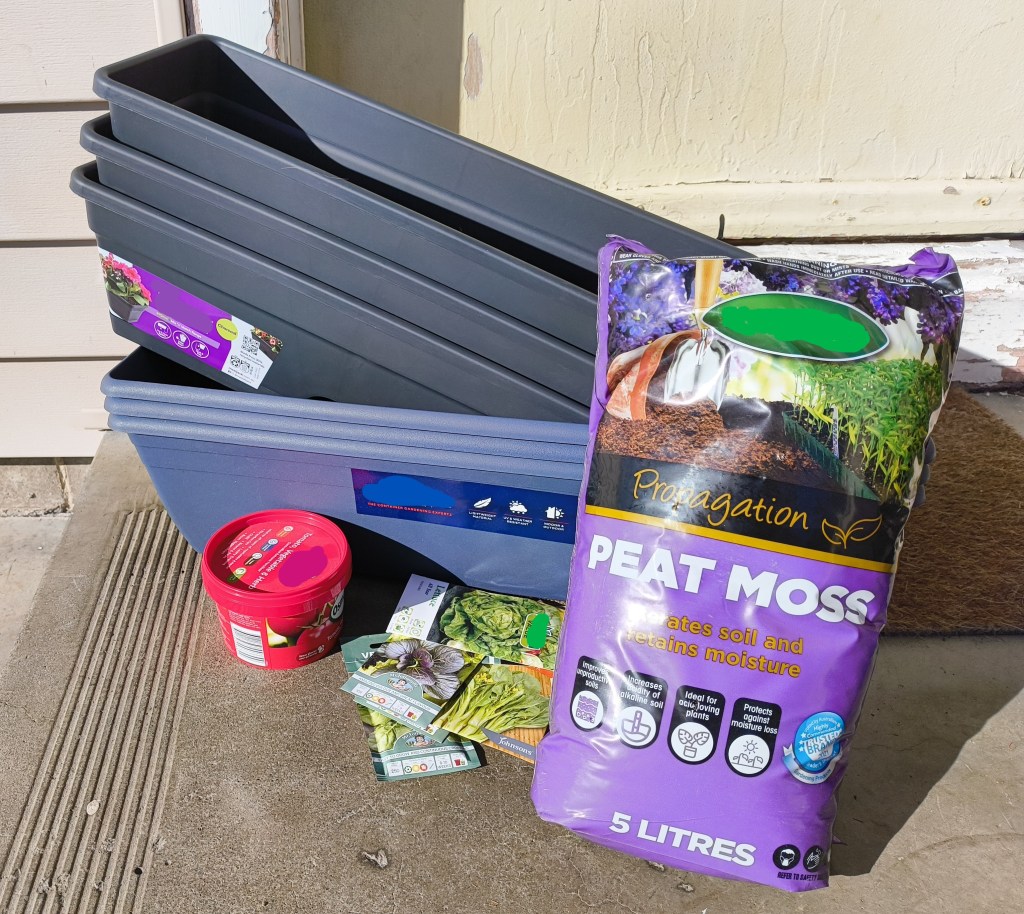
As you can tell, I like the Asian brassicas. Unfortunately, they are one thing that has become ridiculously expensive recently, and given how useful they are for bulking out soups and stir-fries, I figured they are a must have. As for the pots, I went with the longer pots or planters, which allow me the ability to fit a little bit more in than I could with your typical circular pots
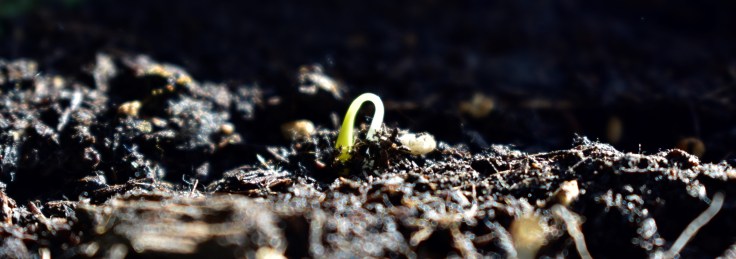
From here on in, the process is the same as it always is: get your pots, fill them with dirt, sow seeds, water and wait.
To fill mine, I purchased a bag of peat moss, which I mixed with slow-release fertiliser and a 50/50 mix of potting mix and bagged potting soil. I added the potting soil because I have noticed more and more recently that the bags of potting mix I have been buying are beginning to resemble bark mulch. Aside from sticks and wood chips, there doesn’t seem to be much else in them, so I wanted to add a bit more.
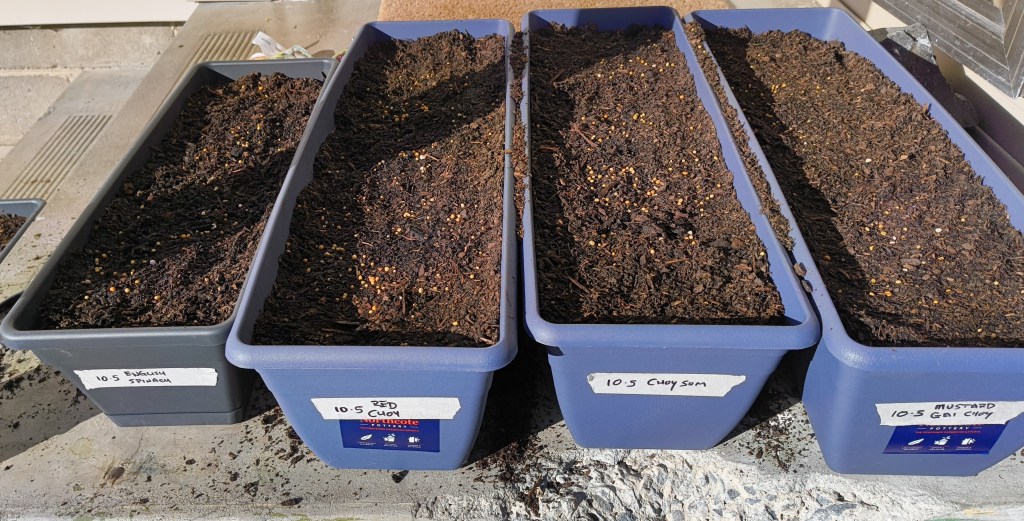
If you wish to use something different, I would advise sticking with materials intended for containers. As convenient as it may seem, going outside with a shovel and filling your pots with soil straight from the ground isn’t as great as you may think.To begin with, you will be introducing the same weeds found in your garden or yard into your pots, which means your seedlings will now have to compete for nutrients. Add to that, in pots, garden soil doesn’t drain as well, so your plants will most likely drown due to the poor drainage that normal soil has when put in containers.
And as always, because of my fantastic memory, I labelled each pot with what was in there and the date the seeds were sown to avoid any future confusion.
Now comes the watering and waiting stage.
Looking for something bigger perhaps?
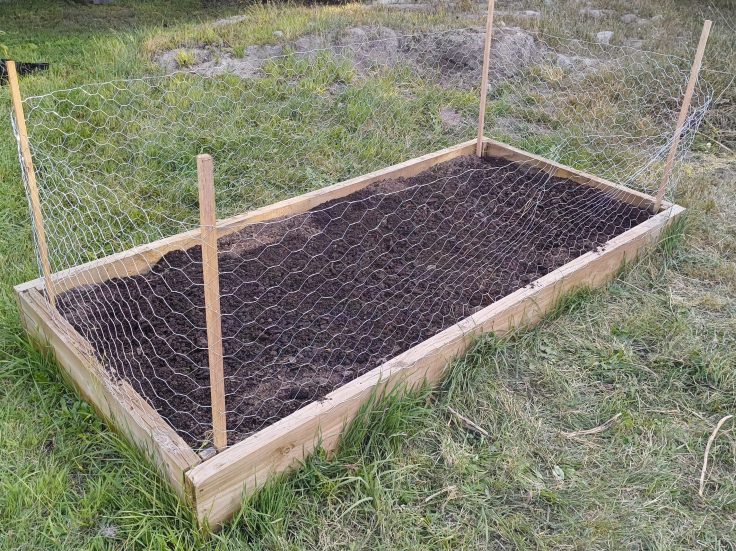
For those of you with more space to spare and the desire to go a little bigger. I would highly recommend making or putting in some larger garden beds. There are a few ways you can do this, and ultimately, the size or style all depends on how deep your pockets are. You can dig up the grass and sow seeds in the exposed soil, or make a garden bed with proper edging to help keep things neat and organised, or go all the way with raised beds. The choice is yours.
In ground beds
If your backyard soil is suitable, and you don’t care for a well-manicured lawn, I would highly recommend digging up the grass and its root layer, mixing in some fresh garden soil and fertiliser like manure or blood and bone and sowing the seeds into that. This is my all time favourite method; I have done it plenty of times in the past, and it has worked well for me time and time again. It’s quick, easy to do and cost-effective. And once you’re finished with the bed and want to return it to the lawn, simply add some topsoil until it’s level, throw down some grass seeds, and nobody would know you’ve had a garden there.
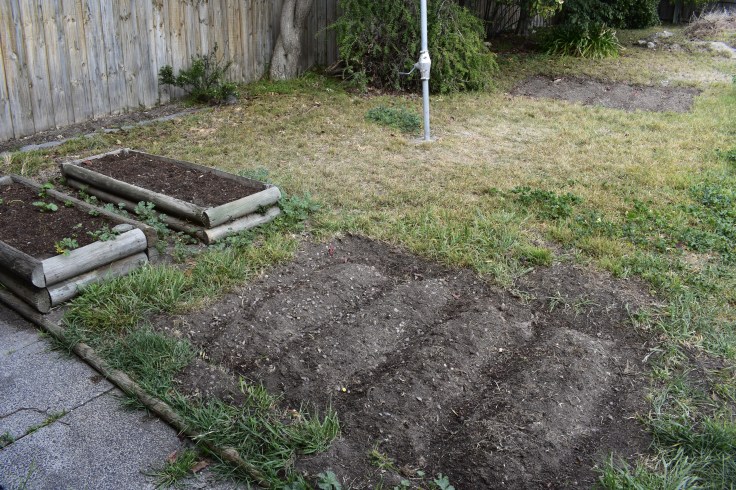
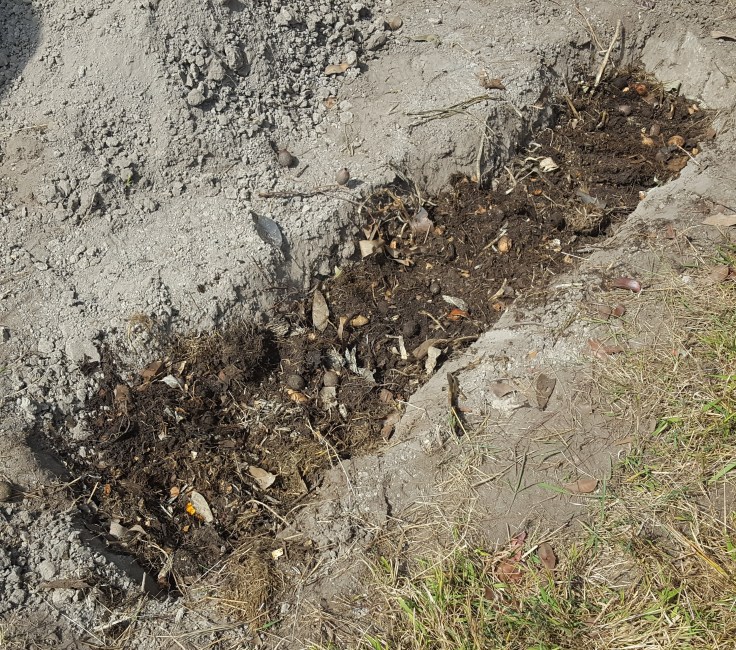
And if you wanted to give your plants and soil an extra boost, you can easily dig trenches under your beds and backfill them with plant matter and compost that will break down, adding more nutrients to the soil and attracting worms. If you’d like to see more on how I’ve prepared these types of beds in the past, feel free to check out this post.
The only real drawbacks to this method that I think are worth mentioning are that, because there are no defined edges to your beds and you’re growing straight into the ground, you will spend a lot of time combating weeds and redefining the edges of your garden beds.
Raised beds
Next, you could look at using treated timber sleepers to make a small “raised” garden bed. This method is another favourite of mine, as it’s relatively cost-effective, the size and finish of the timber is customisable, and it gives you the same organised, well-defined look that raised beds offer for a fraction of the price. The largest expense in this case would be the soil needed to fill it, but it still works out cheaper than getting one of the larger raised beds with higher sides. I made a post last year where I made one for my backyard. If you’d like to know more, you can find it here.
Or, if you want the added advantage of height, there is the option of a standard raised bed. Raised beds are easy enough to make if you’re handy with tools. Recently, I made a small raised bed out of upcycled wooden pallets; you can find the post explaining the process here.
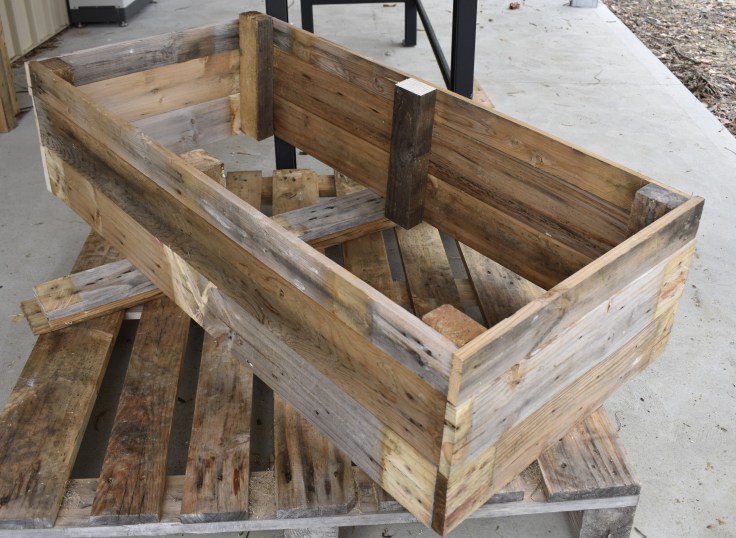
If the D.I.Y path is not your thing, fear not, they are readily available at most gardening and hardware stores, either in flatpacks or kits, sometimes even sold in one piece, ready to use with no need for assembly. However, as with most things easy, they can also be expensive. It is also worth mentioning that the higher the bed’s sides, the more soil you need to fill it, which adds to the overall cost. I have used raised beds of varying sizes in the past, and while I do like the look of them and the neat, organised yard they can create, I don’t care much for the overall cost of getting one and filling it.
Regardless of how you choose to do it, the key takeaway here is that you should at least get something growing. As much as I don’t want to sound like Chicken Little, but if a problem with the food supply chain does occur in the coming months, I would rather be ready, proactive rather than reactive, and if it doesn’t, and everything continues as normal, well, at least food I have grown will help with my budget. And if more and more people have a go at growing their own food, they would hopefully become less reliant on the established food supply chains and hopefully a little more protected if any issues ever occurred.
And with that, I think I will leave it there for today. Thanks for dropping in and having a read. It is always appreciated, and I hope you got something out of it. As for my next post, it may be a short while before I can get to it.
Currently, my house renovations are wrapping up, so the majority of my time is spent packing down rooms, moving boxes, painting and doing yard work. I expect to have everything finished and ready for market in a month. Essentially, this is the final push to complete everything. And once that’s done, I will move out to the block at Forcett and will be able to start setting up the homestead I have been patiently working towards for the past few years.
All of which will be shared here, failures and all, as I resume a more regular posting schedule.
Until then, stay safe and thanks again. I hope you’ve gotten something out of this. Have yourself and good one, and I will catch you next time.


Leave a Reply