Hello and welcome back. I hope life has been treating you well over the past few weeks.
With the move out to the block coming up soon, I have begun looking into what else I will need to prepare to make life easier once I’ve settled in, as well as what will help me reach my goals for this year.
The first thing at the top of my list, that has been screaming at me for the past few months, is to start preparing a veggie garden.
Over the past two years, I have not had time to look after a garden. I tried, but I have been too busy bouncing between my 9-5, the renovations and the work on converting the shed at Forcett. Which means all the beds I have back at the house have been left to become overgrown eyesores. But now that everything is beginning to wrap up, I will be able to get back into the garden and get my hands dirty again.
Now, it’s fair to say, as many of you may be thinking, that I’ve well and truly missed the boat for growing anything this summer, and I would completely agree. These beds, however, will be more intended for the next growing period. I will no doubt try to grow one or two winter crops, but for the most part, I am thinking more of getting them ready and improving the soil for spring later this year.
One added bonus, though, is that for my readers in the northern hemisphere, the time is now perfect for you to start considering putting in a raised bed or two. Depending on where you are, there is still time to collect everything you need so you can put in a bed or two and grow something in the coming spring.
The catch
However, as easy as it is to simply say “just throw together a raised bed or two and start growing,” I have to acknowledge that most premade or kit raised beds can cost a fortune. I know that for a lot of people right now, including myself, regardless of where they live in the world, we are all feeling the effects of the cost-of-living crisis in one way or another. Over the past few years, we’ve all watched our grocery shopping bags get smaller and fewer, while the totals at the bottom of the receipt keep getting bigger with every trip.
For this exact reason, it makes it hard to justify the costs of purchasing the bed and filling it with soil. But I assure you, it is entirely worth it. Not only does growing your own food help to reduce the cost of your grocery shopping, but depending on what you grow, it also allows you more variety than what the local stores may offer. And it’s that variety of food in particular that I miss, so I have set myself a challenge to create a raised garden bed for next to nothing.
My budget doesn’t really allow for raised beds at the moment, but I know having one would help, and the additional food would be an extra bonus on top of the limited selection at my local supermarket.
I plan to make the soil the most expensive part of this whole exercise and, as much as possible, recycle as many materials as I can to keep costs low.
This post will be split over three as I will need to make the bed, fill it with soil, and then, because it is out at the block. Protect it from critters. So today we will begin with making the beds.
Before I get stuck into it properly, I need to make it known that although these beds are cheap and easy to make, they won’t last as long as a garden bed made from sleepers or metal. You will still get a few good growing seasons/years from it, which makes it a great quick fix while you save up to replace them with something a little more permanent. Their life can be extended if you line them with a plastic sheet before filling them with dirt. The plastic sheet or lining will help protect the wood from moisture. It’s not a permanent solution, but it does help. I won’t be doing that, however, as I don’t like adding more plastic to something if it can be avoided.
Low-cost upcycled raised garden beds
To begin with, I am going to assume you already have the following tools.
- Hammer
- Crow bar/wrecking bar, and an old blunt chisel
- Shovel
- Pliers
- Nail punch
- Reciprocating saw
- Saw
I must add that if you have a reciprocating saw, you won’t need the chisel and wrecking bar. These tools are intended for breaking down the timber pallets into their individual boards. If you haven’t got a chisel and a wrecking bar and don’t want to pay the full price of a brand-new one from the hardware store, I would strongly advise looking at your closest tip shop or checking the Facebook Marketplace. The chisel doesn’t have to be sharp; in fact, a blunt one works better here, and as for the other tools. In fact, the other tools on this list can also be easily sourced second-hand; a second-hand prybar and hammer are just as good as new ones. The only disadvantage is that a second-hand saw won’t be as sharp as a new one. So that choice will come down to your own preference and how easy you want the cut to be.
In addition to those tools above, you will also need to get the following,
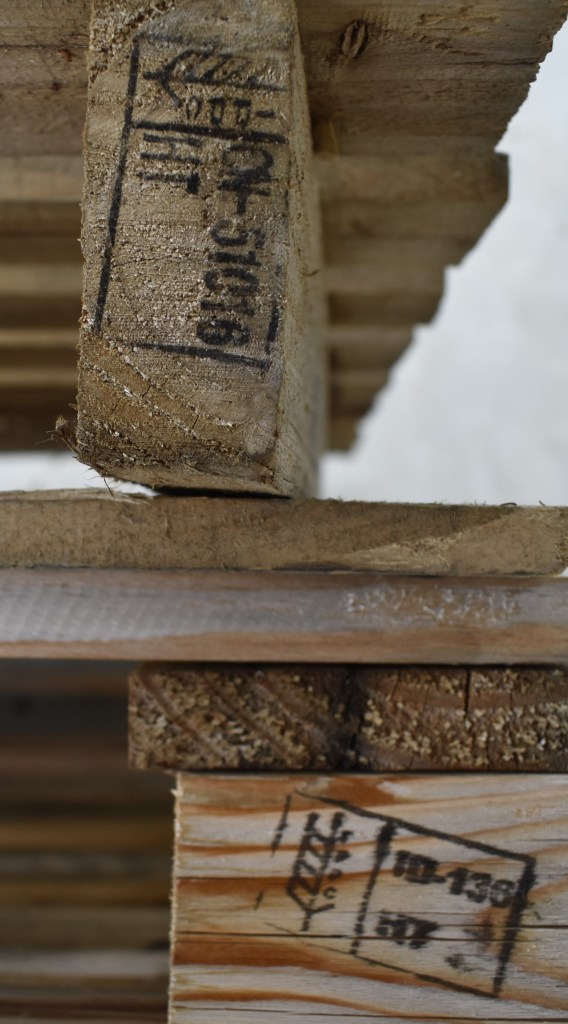
- 2-3 Heat-treated (HT) timber pallets: look for the plain, unpainted variety with an HT mark indicating heat treatment. Using anything else could allow dangerous chemicals to leech into the soil, the plants you are growing and eventually be eaten by you as you consume the plants.
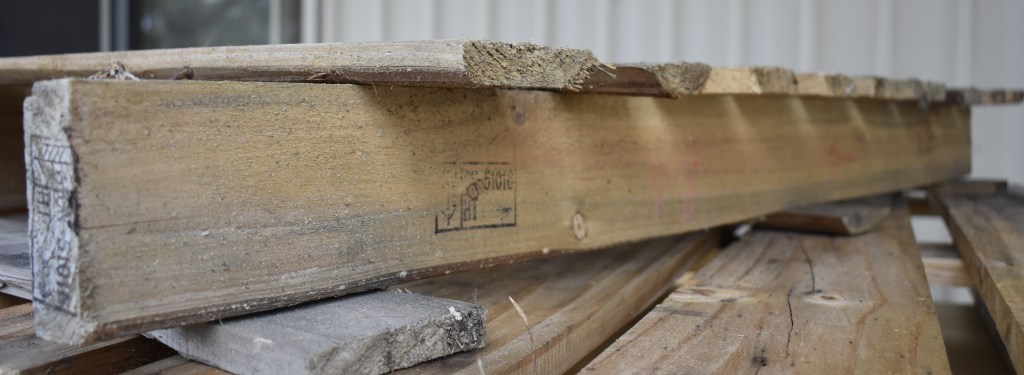
- You will also need to look for another type of pallet; some use small blocks of wood supporting the boards, while others use a thicker beam. Go for the thicker beam if you can find one, as it will make life easier for you in the future by giving you something to support the sides of your garden bed.
- Nails or screws, the nails I’m using have come from one of my jars of loose nails and screws. But if you need to buy some, the best way to determine the length you need is to multiply the thickness of the wood you wish to use by three. Of course, this rule can’t always be applied, but in this instance, it’s a great starting point. For example, the boards I intend to nail are 20mm thick, so I will need a nail 60mm in length.
- Finally, you will also need safety gear (PPE), work gloves, safety goggles or glasses, and, if you’re using a reciprocating saw, hearing protection.
How big or small?
Now, the first thing to do is to decide on how big a garden bed you want, and there are two ways to do this.
The first option is to determine the measurements you need by measuring the space where you want to put a bed, and then make a design and plan from that. The problem with this is that most pallets are usually between 1.1m x 1.1m and 1.2m x 1.2m. So, if you want a larger 2×3 m-sized bed, you will need a lot more pallets to break down.
The second option is the easier of the two, and it’s the one I went with for today. The pallets I had were 1.2m x 1.2m, so that would dictate the size of my bed. To avoid having to pull apart too many pallets, I will be keeping the sides pretty low. I went with 310mm. Ultimately, I only needed to break down two pallets to get the materials I needed.
Regardless of what path you choose, the main thing to remember is that the bigger or smaller bed you choose will determine how many pallets you need and how many you will need to break down. And given the almost randomly sized boards used to make a pallet, finding enough of the same size might be tricky.
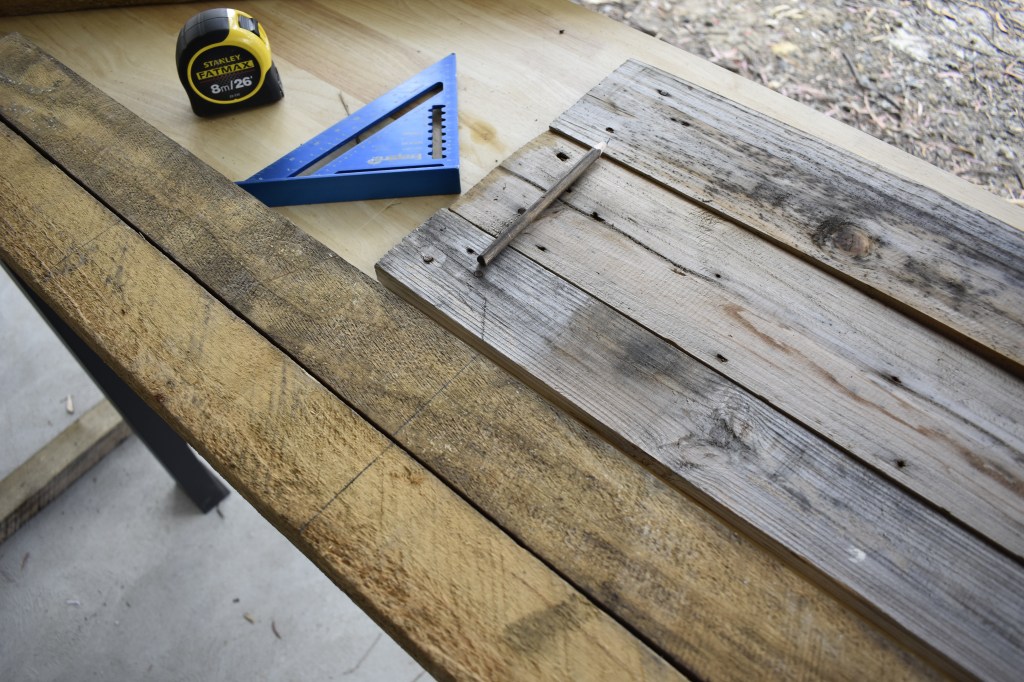
Breaking down the pallets
If you are using the chisel and wrecking bar, insert the chisel tip between the boards where they meet and hammer it in until they begin to separate. As I said before, a blunt chisel works best for this, as it won’t cut into the wood easily, but instead forces the planks apart. With enough work, they will create an opening that will allow you to insert the end of the wrecking bar and pry them apart. It’s not easy and requires a lot of work, but it is possible.
For those with a reciprocating saw, cut where the planks are joined, but aim to cut between the joins to cut through the nails that hold it all together. Once those nails are cut, the board will easily fall off the pallet.
Regardless of what tool you use, repeat this until you have all the boards you need. As you break down the pallets, stack the boards into groups by size. This will also make life easier when you start assembling the beds.
Once I had finished, I ended up having
- X6 boards, sized 20mm x 1.2m x 120mm
- X3 boards, sized 20mm x 1.2m x 70mm
- X4 beams, sized 50mm x 70mm x 855mm

De-nailing
This next stage is entirely optional and up to you; however, if you intend to cut any boards, I highly recommend it. Thankfully, if you chose to dismantle your pallets with a chisel and a wrecking bar, you won’t need to do so, as you have most likely removed the nails. But for anyone using the reciprocating saw, this is a must. The last thing you want when cutting through a board is to strike a nail that’s been left in, especially if you’re using a skill saw. To prevent this, carefully examine each board and, using a hammer and nail punch, tap out any nails or nail fragments you find.
I only went through and removed the nails that were near where I had planned to cut. I don’t mind if the others stay in, as I think it adds to the character of the upcycled timber.
I have to stress that if you use it, you should take care to collect any nails or nail fragments and dispose of them, rather than leaving them where they fall. Those buggers love nothing more than embedding themselves in car tyres. A lesson I’ve had to learn the hard way.
Cut to size
If you need to cut any boards, now is the time to measure them and cut them.
As my bed is going to be 310mm high, which worked out to be three boards. My plan is to have x3 1.2m boards cut in half to 600mm, which I will use for the ends of the bed, giving me a rectangular garden bed.
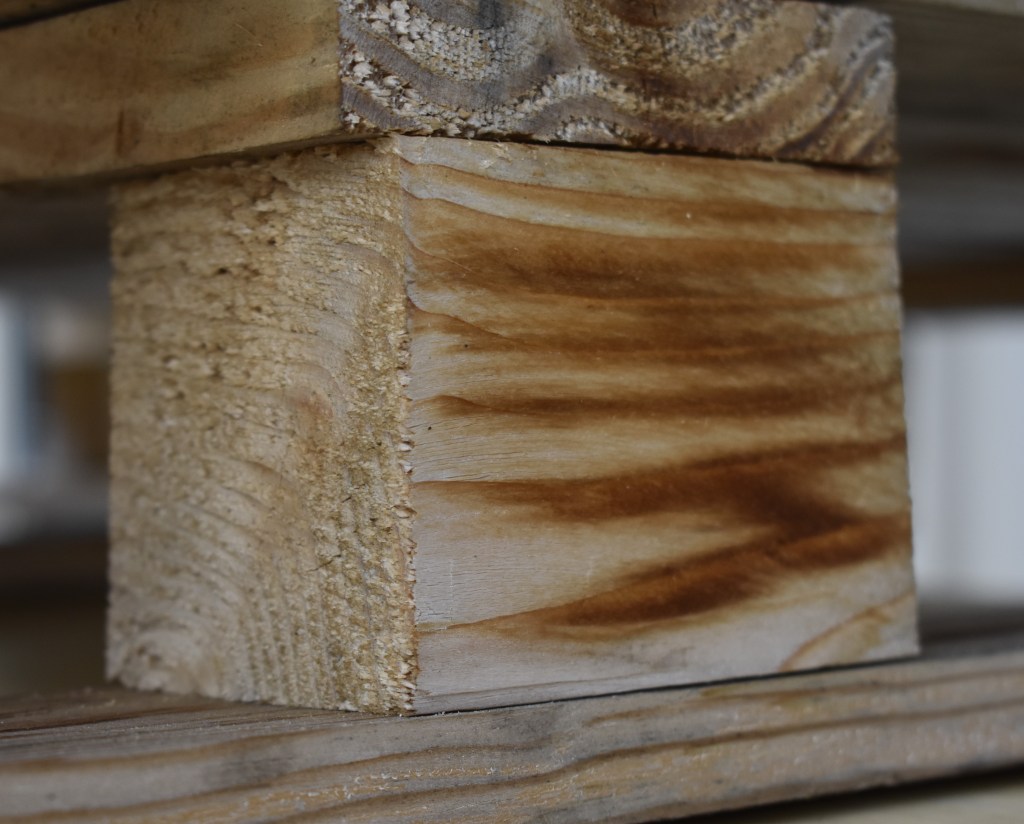
I also measured and cut the thicker beams into six lengths, each 310mm. I will use it as the frame and attach the boards to it to hold them in place.
Assembling the bed
With all the wood cut to size and ready to go, I can finally start making the box that will be my new raised garden bed.
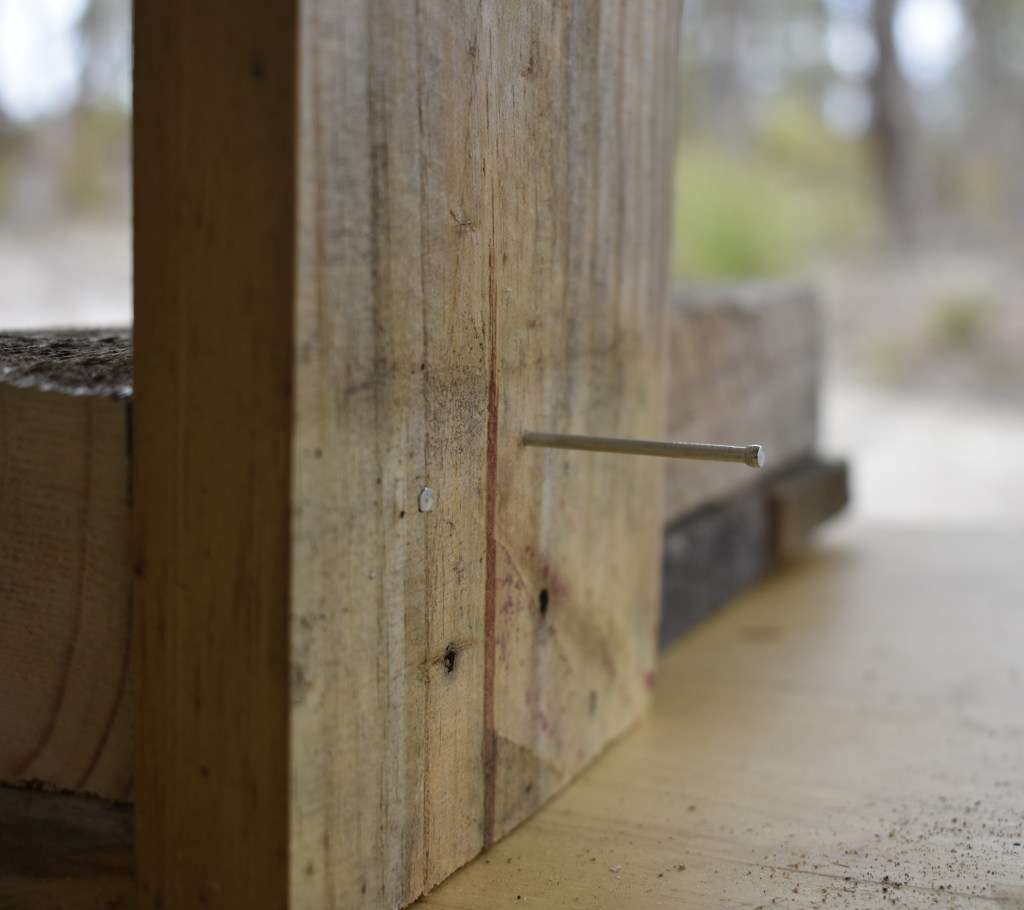
I should note that, since we are making something from wooden pallets, the wood is often a bit rough or uneven, making it challenging to work with at times. So when nailing it down, remember to drive the nails in at an angle. Doing so helps them to grip and prevents them from being pulled out by the wood warping.
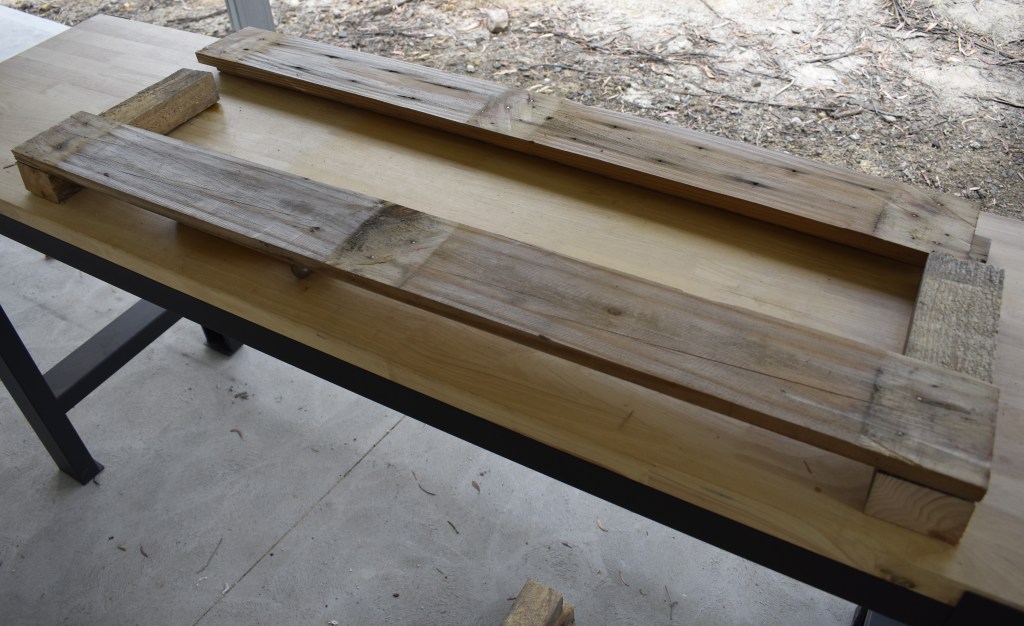
To begin with, I laid out two of the thicker beams at each end of one of the 1.2m boards and nailed them into place. I did this with the other two boards, and to finish it off, I got a third beam and nailed it halfway down the length of the boards offer them more support.
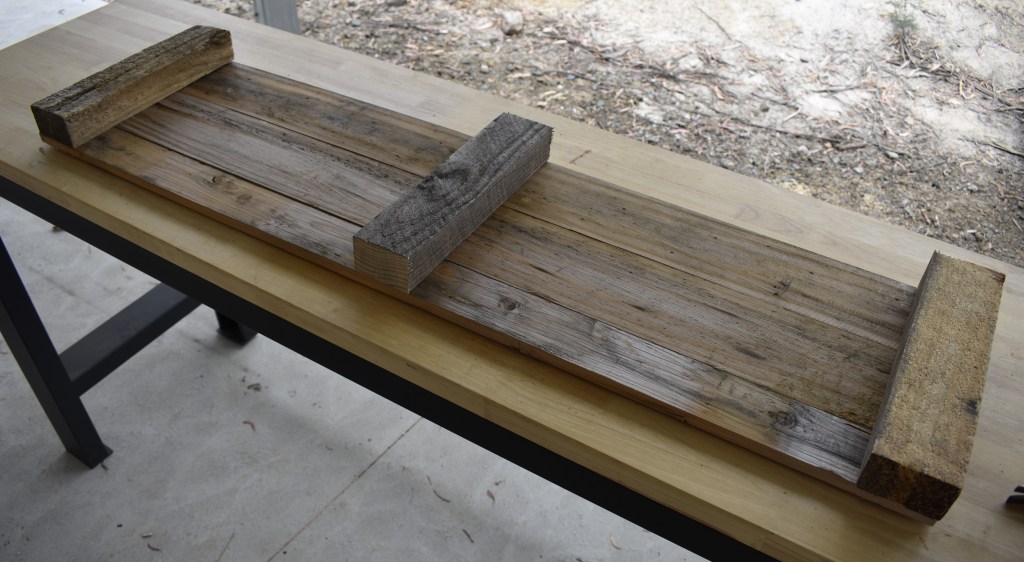
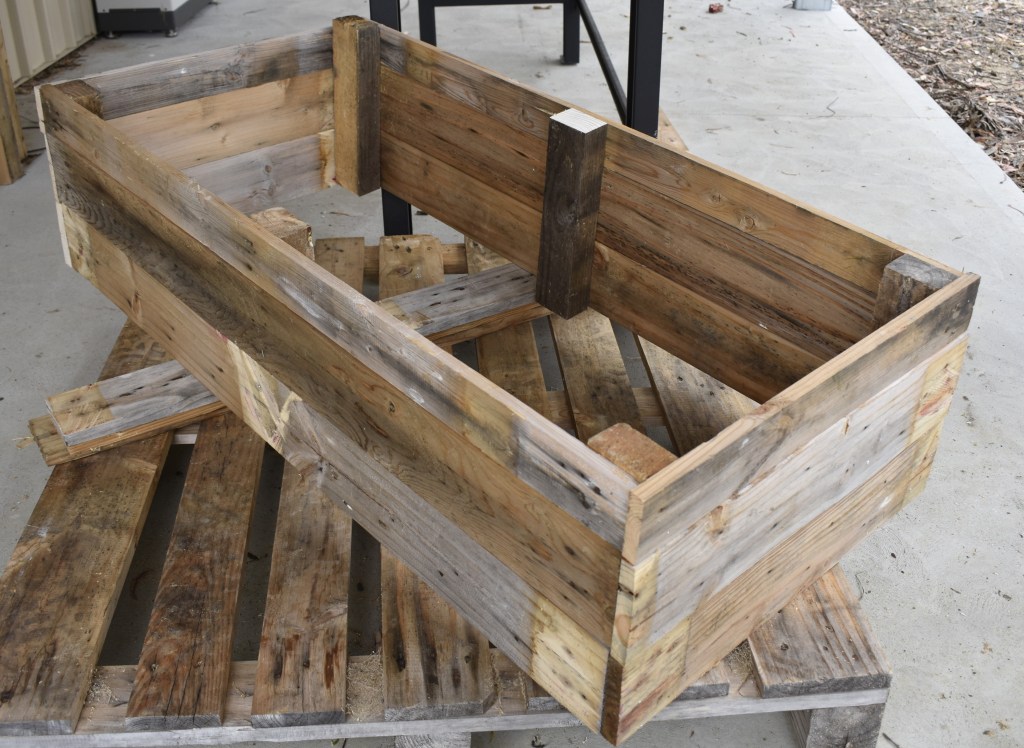
I repeated this for the second side of the raised bed, and eventually, I was left with two side panels that looked something like this.
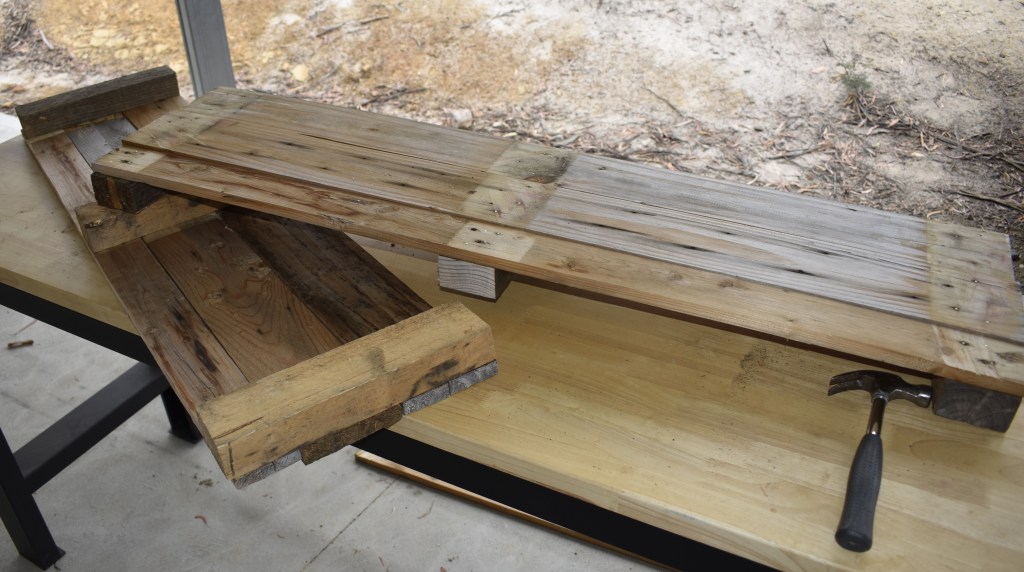
The final stage
Now that I had completed the two long sides, I had to connect them together by nailing the shorter lengths to their ends. At this point, the nails should be driven into the thicker beams to which the long sides were nailed. Repeat this at both ends until all the boards are used up and you have completed the bed.
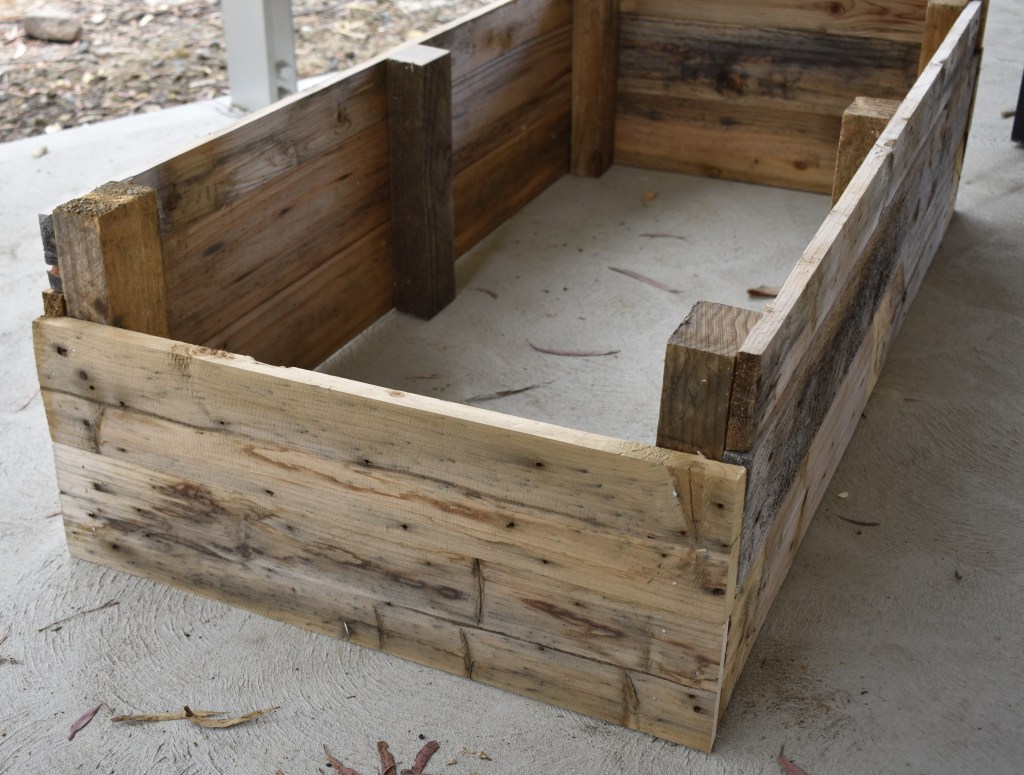
The final dimensions of my completed garden bed are H 310mm, W 1200mm, and D 590mm. Although it’s not the largest I’ve ever made, it will more than certainly do the job.
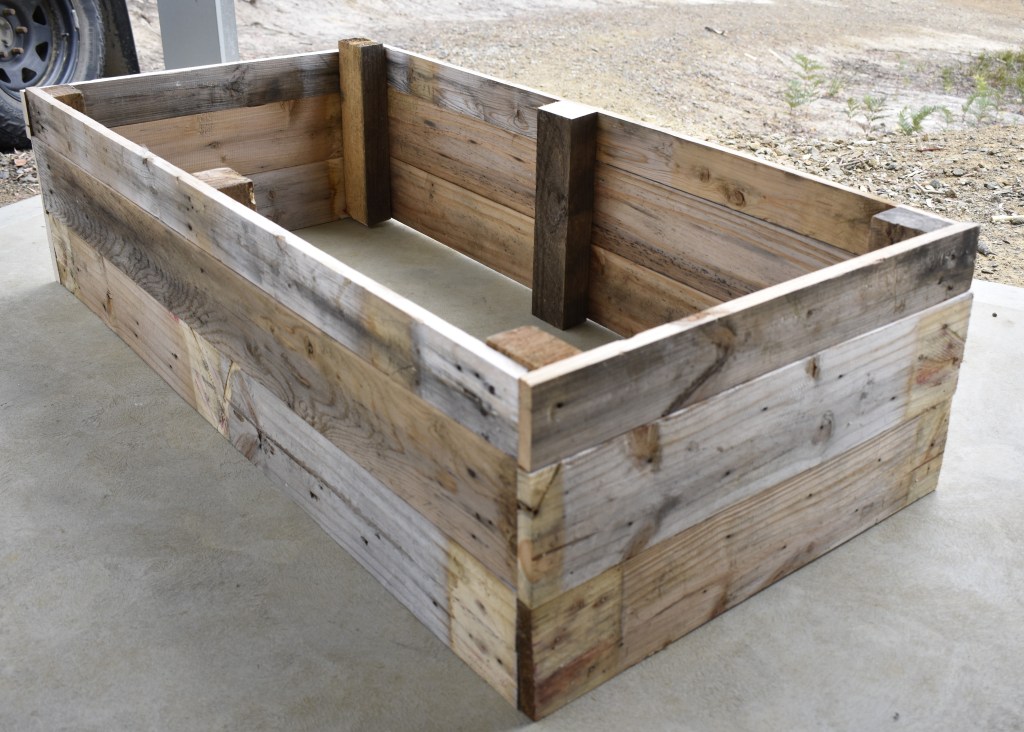
Closing remarks
And there you have it, a simple, easy-to-make raised garden bed made out of timber pallets. As I already had the tools and materials I needed, this cost me nothing, except for 2 hours on a Sunday afternoon. Now it won’t win any prizes or be featured on the latest home and garden catalogue. But it will do the job, and more importantly, it will do it cheaply. In this day and age, when everything is costing more, every dollar saved is a dollar earned, and that, in my opinion, is far more important than style or looks.
For those who don’t have all the tools, as I said before, don’t stress: try to find the cheapest alternative to buying what you need, borrow from a friend, or look at second-hand stores, tip shops or even garage sales. The whole point is that I wanted to make a cheap garden bed anyone could make, and, with any luck, use it to help supplement their diet.
Overall, this was surprisingly easy to make. I was expecting it to take much longer than it actually did. which is a big positive, as I will need to make a few more in the near future.
In my next post, I will fill the bed as cheaply as possible. I don’t really want to order a truckload of dirt from the landscaping store, so I need to get creative and find a way to do it on the cheap.
Until then, thanks for dropping in. I hope you’ve gained something valuable. And until next time, look after yourself, and I will catch you later.

Leave a comment