
Hello, and welcome back to the Vandemonian homesteader. I hope that life has been treating you well and that you have been able to make the most of your summer. I am excited as we are now in my favourite time of year, autumn. As much as I love the longer days that summer brings, I feel I can get more done in the cooler weather. And frankly, who does not love watching the autumn colours creep into their neighbourhood?
As I mentioned in my last post, I will be looking at homebrewing, particularly making mead. Initially, I had planned to have this finished and posted a while ago; however, In the early stages of making the mead and preparing for this post, I skipped some key steps and forgot the 6 P’s.
For those who don’t know, or like me, need a refresher, the 6 p’s are proper preparation prevents piss poor performance. And gods was my performance, or in this case, product piss poor.
One of the points I made in my 2024/25 New Year’s post was that I wanted to make and write better quality content than the previous year. So, instead of writing that it worked and passing off a half-assed product as complete or writing that it didn’t work and then not fully explaining why it failed. I thought I would incorporate what went wrong and explain how to avoid making those same mistakes that I did.
Thankfully, I took plenty of notes during the process, so when I realised everything had gone wrong, I could go back over those notes and look at what had caused the problems I encountered, enabling me to prevent them from happening again.
The key points I failed in were not correctly sanitising my equipment, using equipment I wasn’t familiar with or appropriate for the task, and not having a proper recipe. Instead, I went with bits and pieces of a few different notes from my notebook without adequately understanding the process. Most importantly, I rushed the process, hoping to get it done and posted before I went on a holiday, with the hopes that when I would return. It would have finished fermentation and be ready to drink. Instead, I wound up with an apple cider riddled with mould and mead that, although still drinkable and packs a punch, was nowhere near a product I am happy with or want to share. The day I was due to leave for my holiday, I saw the mould on the cider and poured it down the drain. Everything looked normal for the mead at that point, so I quickly siphoned it into five 1-litre bottles. They had a screw top and were not the flip-top ones I’m used to. Out of those five, only two were usable; the rest had a bad taste or had solid white lumps floating on top. When I got back from my holiday and noticed the problems, I also noticed that some of the lids weren’t screwed on properly, and I’m pretty sure I didn’t sanitise them properly either. So, all in all, I’m not surprised they failed.
Despite being a waste of time and resources, it was an incredible learning curve that made me sit back, review my mistakes and spend a bit more time reading up on the process.
And now, with it being well over two months since my last post, I am finally pleased to present my guide to making mead to you. As for a guide on hard cider, I decided to make brewing hard cider a post of its own so I don’t overwhelm or confuse anyone. It will be coming up in my next post.
What is mead?
But before we begin brewing, here is a quick rundown on mead. Mead, also known as honey wine, is considered one of the oldest alcoholic beverages, with origins dating back over 4,000 years. It is made by fermenting honey with water and wild yeast. Spices can be added for extra flavour. You can also add fruit and berries, which is called melomel instead of mead, if you like.
Ancient Egyptians, Greeks, and Vikings brewed mead for celebrations, rituals, and medicinal purposes. More recently, the drink has become popular again as people have rediscovered its unique taste, which can easily be enhanced by adding fruits and herbs. Given its simplicity and ease in making it in small batches, it has become a popular drink for home brewers.
Honey Mead Recipe
To begin with, I want to list what equipment you will be using. For the recipe I have today, you will need the following.
- 1 stainless steel large pot
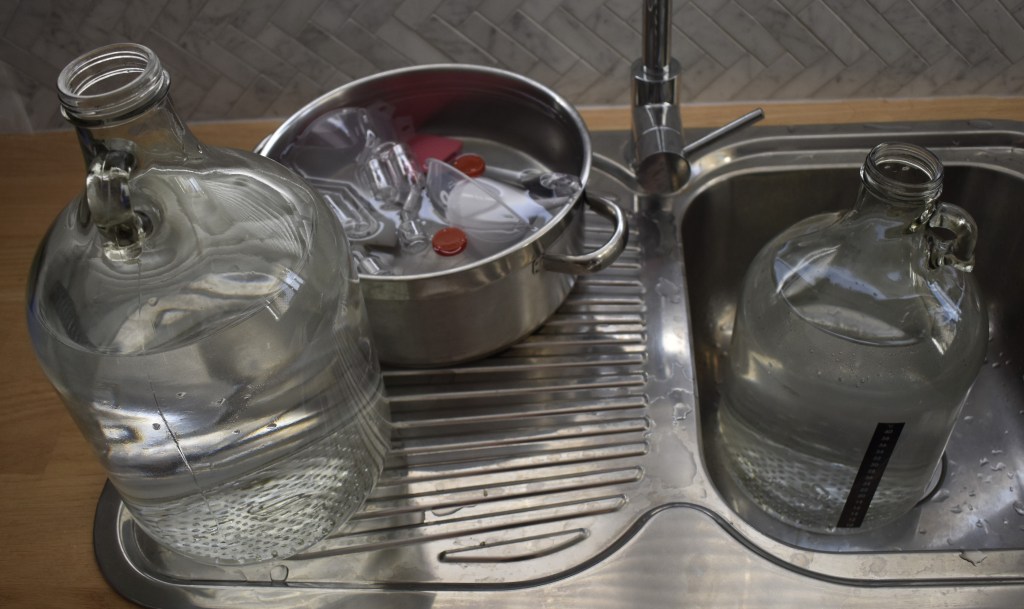
- 1 five litre demijohn, also known as a carboy
- 1 rubber stopper with airlock
- 1 stainless steel or plastic spoon for stirring
- At least one large funnel
- 5 1000ml flip-top glass bottles, either clear or amber coloured
- Measuring jugs or cups
- Thermometer
- Siphon
- Sanitizer
Notes.
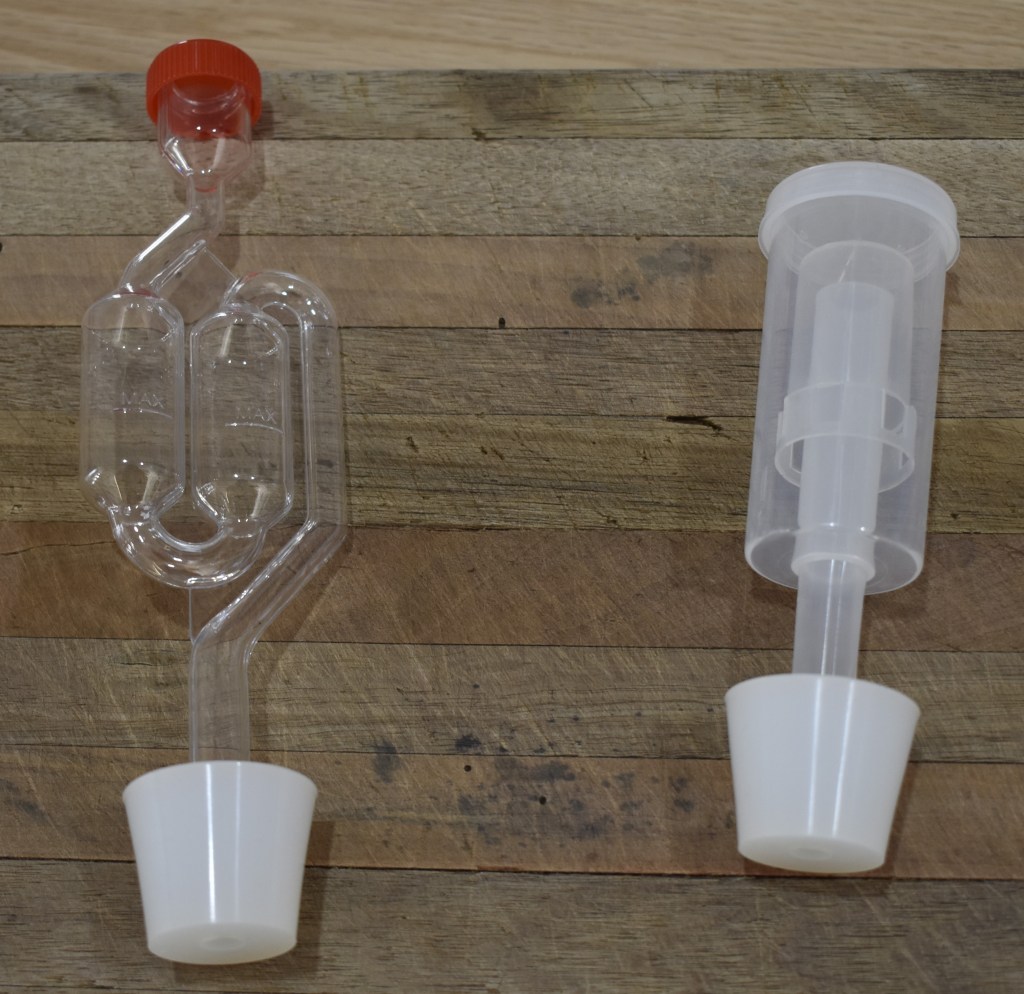
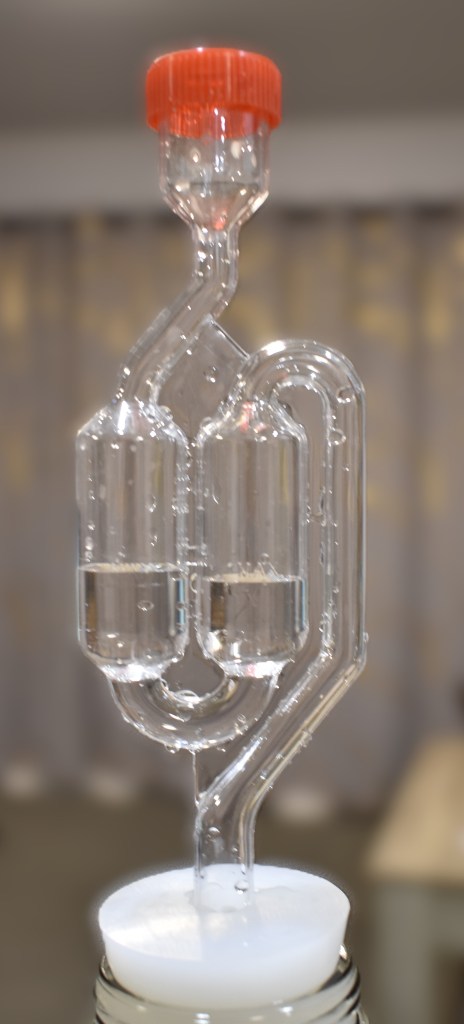
- Regarding airlocks. Previously, when I’ve made mead or beer, I have always used what’s called an s-bend airlock, which is basically two air pockets that you fill with water that creates the airtight seal that allows gasses to escape but prevents anything from coming in. I tried using a different type of airlock in my recent failed attempt. This one has a small cap inside a chamber that allows gasses to build up underneath it. As the gasses reach a certain point, they lift the cap above the water and let the gasses escape. Since it was my first time using one of these airlocks, I paid close attention to them. I noticed that water was drawn back into the demijohn as the gasses escaped, eventually breaking the airtight seal. I’m unsure if I had a faulty airlock or was using it incorrectly. I have seen them used by others successfully, so it’s probably just me. But I went out and purchased some s-bends that I am much more familiar with, just in case.
- Sanitising is essential. I can’t stress this enough, and I will mention a few times during this post for good reason. I didn’t do a thorough job on my first batch, which contributed to my problems. If something comes into contact with your mead or any of your ingredients, I recommend sanitising it. This time, I followed the sanitiser directions to the T. There is nothing worse than going to all this trouble and waiting so long just to create a product that has to be poured down the drain. Once is enough for me. Most home brew stores will have a sanitiser you can use. Although I didn’t use it this time, Star San is a fantastic product I have used in the past, and I know many others recommend it.
Ingredients

- 1.4kg honey, if you can get it raw and unprocessed. Otherwise, store-bought will work fine; just research the brand of honey you are buying, as many brands mix their honey with other syrups.
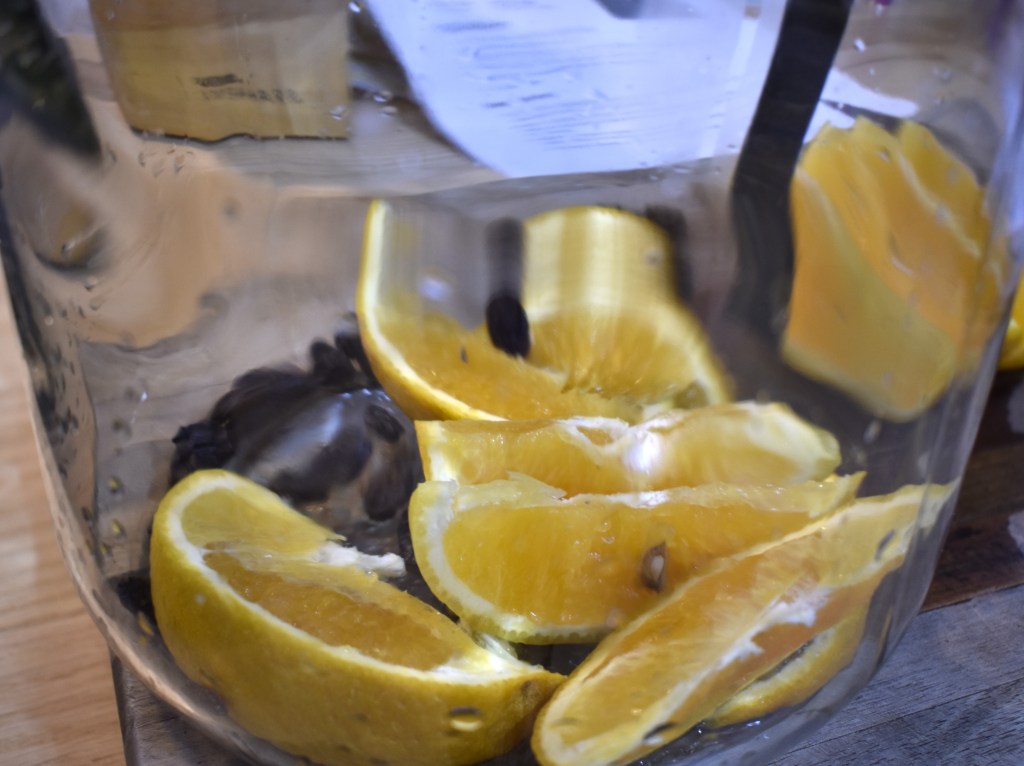
- 1 orange, washed and sliced into wedges with skin on.
- 50gm or dried raisins.
- 1/2 packet of wine or champagne yeast (packets are usually 5gm).
- 3 litres of water.
- Optional: fruit, berries or spices for extra flavour.
Instructions
- Sanitise everything. As I mentioned before, if you’re going to use it, you need to sanitise it; otherwise, you risk introducing harmful bacteria into your mead.
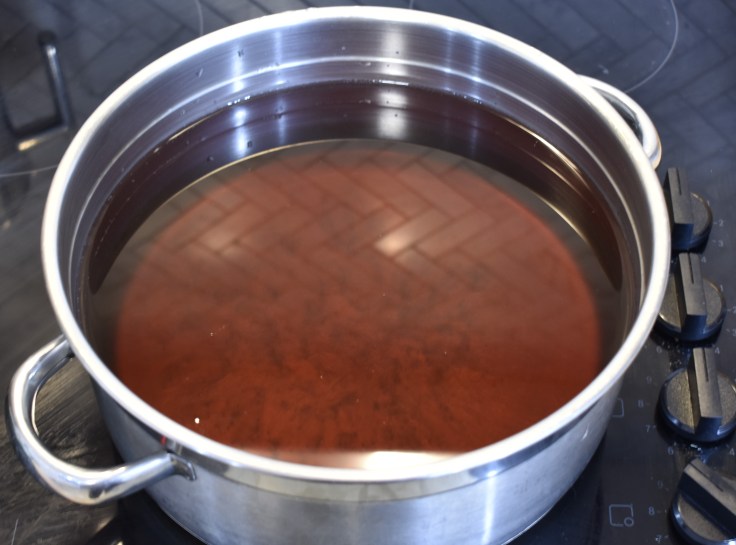
- Pour 2 litres of water into a large stainless-steel pot and heat on low to medium heat. You don’t want it to boil; it only needs to be warm enough to dissolve the honey.
- Pour the honey into the water and gently stir it until it has dissolved. Once dissolved, remove it from the heat and allow it to cool until it is around 18 to 20 degrees Celsius.
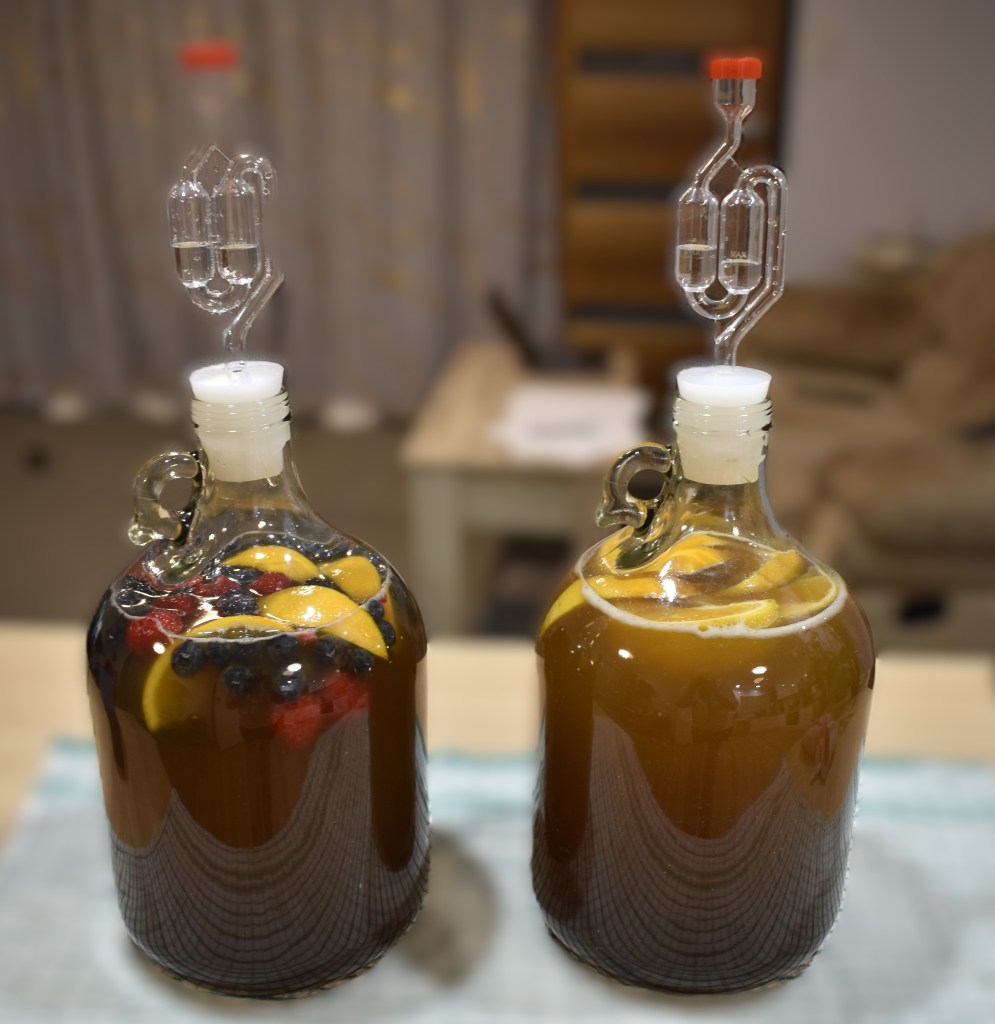
- Place the orange wedges and raisins in the demijohn. You can also add any optional fruits or herbs at this stage. I made a second mead using the same recipe, but I added some raspberries, blueberries and blackberries.
- Using the large funnel, carefully pour the honey water mixture into the demijohn, careful not to spill any.
- Add the half sachet of yeast and, if needed, top up the mixture in the demijohn with the remainder of the water. You don’t need to fill it completely, but I generally use the base of the finger loop of the demijohn as a guide. If your demijohn doesn’t have a finger loop, aim for roughly 5cm or 2 inches below the top of the container.
- Stir or cap the demijohn and give it a shake.
- Stick the bung and airlock into the demijohn, ensuring they are tight and won’t pop out. Add water to the airlock to create the seal if you haven’t already.
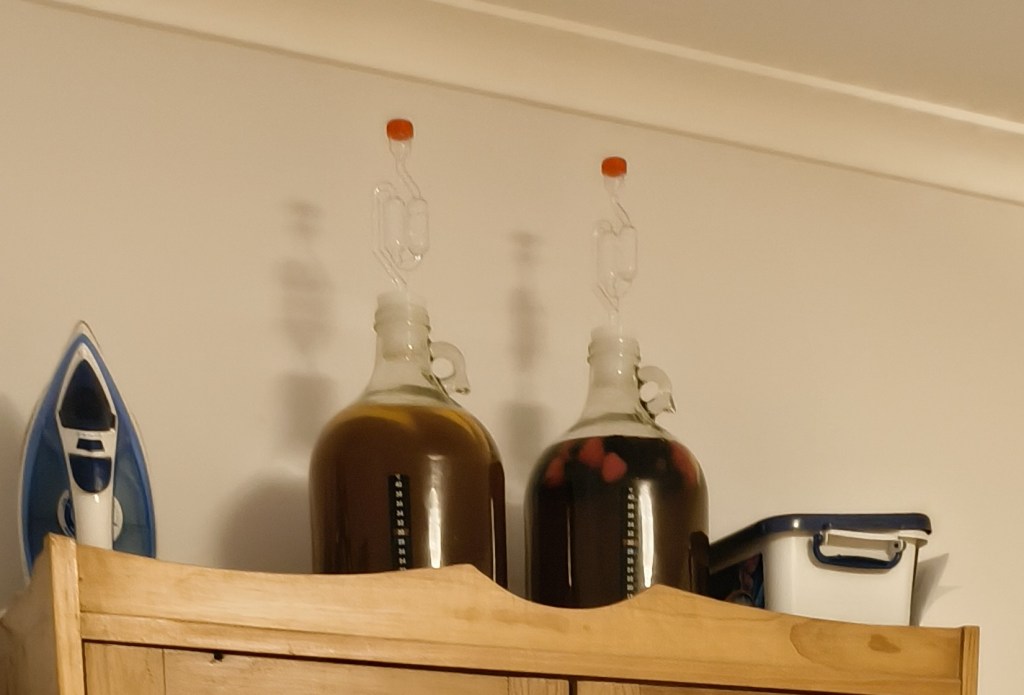
- Store the demijohn in a dark place with a constant temperature. You don’t want it to be too hot or cold, as the yeast is most active between 18 and 21 degrees Celsius. I placed mine on top of a cupboard in my spare room out of harm’s way.
- Allow it to sit for 4 to 6 weeks. The airlock should start bubbling within the day.
- In 4 to 6 weeks, when the bubbling has slowed or stopped, you will be ready to begin the next stage. To start, remove the airlock and bung.
- Without disturbing the sediment from the bottom of the demijohn. Use a sterilised straw or siphon to extract a small sample of the mead.
- If you like the taste, you are ready to start bottling. If you find the mead too dry, you can “back sweeten” it by adding some potassium sorbate to halt the fermentation process. Then, add more sugar or honey until you reach a sweetness you are happy with. To back sweeten, add a heaped half teaspoon of potassium sorbate, stir it into the mead and allow the mead to sit for 24 hours. Then add the extra sugar or honey until you are happy with the final product.
Bottling the mead
- To begin, sterilise the flip-top glass bottles, siphon and funnel.
- Using the siphon and taking care not to disturb the sediment on the bottom of the demijohn or any of the fruit that had been added, proceed to drain the liquid out of the demijohn into the flip-top bottles. If it helps, a small, fine mesh strainer and large funnel may help avoid accidentally picking up any sediment or fruit and transferring them to the bottles. Also, don’t fill the bottles completely to the top, just like the demijohn fill to roughly 2 inches from the top.
- Once the bottling is complete, clean everything down, and remember to label and date your mead.
From here, you are ready to enjoy your mead, or if you like, you can put it back in a cool, dark space and allow it to mature to improve its taste. Some recipes and guides I read mentioned letting it mature for up to a year once it’s bottled. But at this stage, it’s up to you. I plan to leave some for a while to see how they mature and enjoy some as soon as they’re ready so I can compare the two.
But before I move on, here are some more notes that may be of interest to you.
Sparkling mead
If you wish to make a sparkling mead, first ensure that the bottles you will use for bottling are strong enough and have suitable lids for holding a carbonated liquid. 750ml beer bottles or longnecks are ideal. You will then need equipment like a bottle capper and bottle tops to seal them properly. However, some flip-top bottles will be suitable, but you must confirm that before buying them.
Then, when you are at the bottling stage, add an extra 2/3rds cup of honey to each bottle and allow them to sit for at least another month. But be mindful that there is a risk they may explode so I would recommend you store them somewhere that’s easy to clean
Determining alcohol content
If you wish to know the alcohol content of your mead, you will need to get yourself a hydrometer and be ready for some maths.
When making your mead, once the mixture has cooled before you add the yeast, insert a sterilised hydrometer into the demijohn, or fill a tall measuring cylinder or beaker and then insert your hydrometer. Ensuring that the hydrometer is floating freely and not in contact with the sides or base of the container allow for it to settle and check the reading that it gives you. This is what is called your original gravity or OG. Make sure you write it down somewhere, as you will need it later. Then, proceed to add the yeast and follow the rest of the recipe.
As you are about to start bottling the same batch you took the OG from, take another sample in your test tube and again insert the sterilised hydrometer. This reading is called the final gravity or FG. Once you have recorded that number, you can continue to bottle as usual.
Once everything is cleaned and packed away, bust out your calculator and prepare for maths.
With your original gravity reading (OG), subtract your final gravity reading (FG). Then, multiply the result by 131.25. The answer is your alcohol content.
For example, if your OG is 1.050 and your FG is 1.010, your ABV would be (1.050 – 1.010) multiplied by 131.25 = 5.25%, so in this example, your alcohol content would be 5.25%.
And with that, happy drinking!
As you may have noticed from the photos, for demonstration and as an experiment, I made two batches using the above recipe. For the first batch, I followed the recipe to the letter, and for the second, I added a 200gm punnet of blueberries, one punnet of blackberries, and a punnet of raspberries, adding them to the demijohn with the raisins and oranges. As much as I wanted to, I didn’t worry about taking readings with the hydrometer, mainly because mine rolled off the bench and shattered on the floor, which was a rather expensive and messy mistake. Cleaning up all the tiny beads from the hydrometer was a nightmare.
At the time of posting this, both my batches have been fermenting for at least two weeks now. I tried to save my earlier batch from January, but as mentioned before, only two bottles were salvageable.
Thankfully, my two latest batches are performing quite well with their fermentation. I am confident they will work out just fine.
When it comes time for bottling, I will share that process here and provide an update on their progress.
As I said earlier, in my next post, I will have another crack at making hard apple cider. Hopefully, what I have learned will work this time, and I won’t end up with a jug of mouldy apple juice.
A quick update on other projects
Since my last post, a few things have happened that I need to update you on.
The Shed
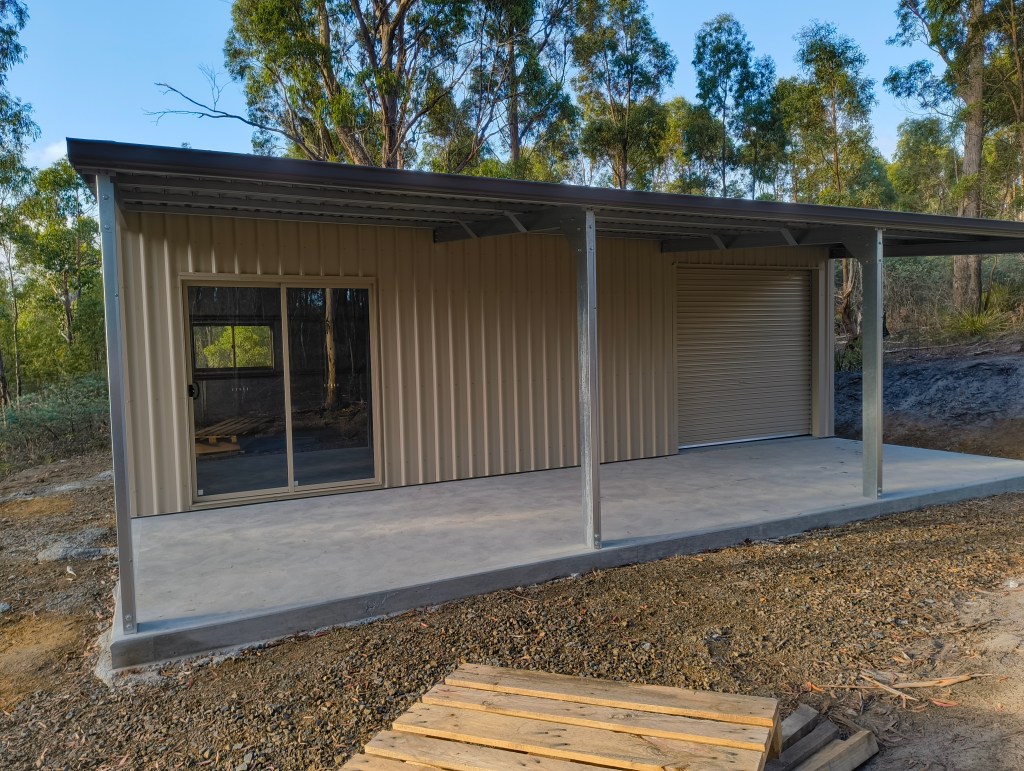
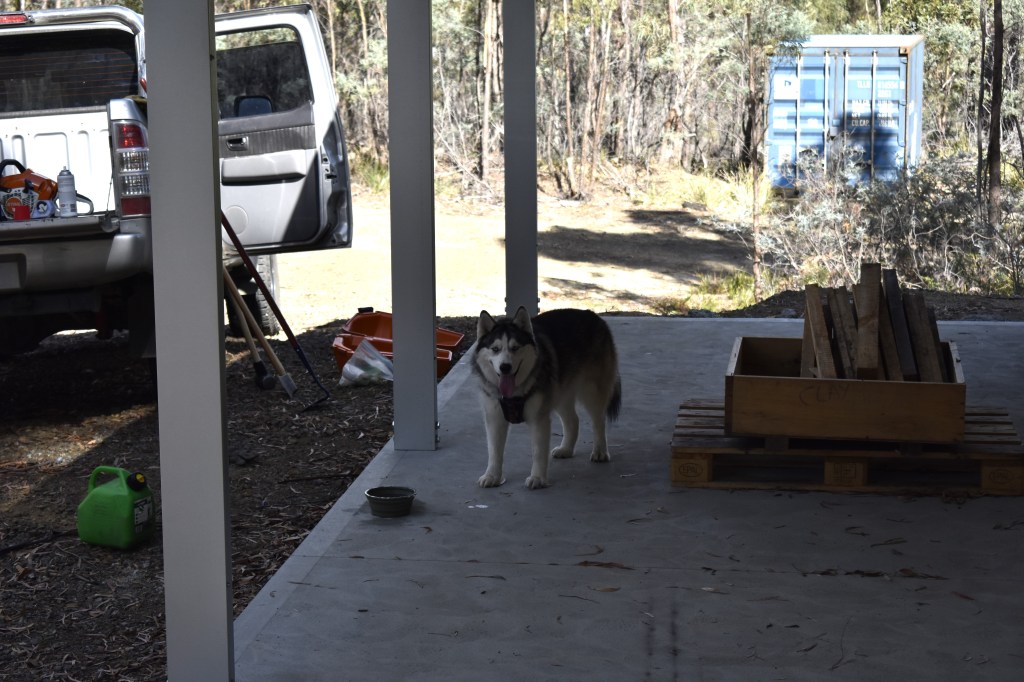
The shed company was finally able to complete the shed construction, and it is fantastic. Now, all I need to do is convert it to a cabin/home, and I’m set to move in. My move-in date is still around the mid-year mark, with October being the latest. Not only do I have to get it habitable before then, but I would also like to get some garden beds in over winter so they will be ready to use in the coming spring/summer. Because they completed it the week before I went on holiday, I haven’t been able to do much with it yet, but that will be changing soon.
You may have noticed the roller door in the above photo. When designing the shed with the manufacturer, I decided to leave the roller door there so it could be used as a shed/workshop for when I finally get around to getting an actual house put on the property. At the moment, though, it’s a great shelter while I’m working out there.
My current garden
As I still plan to live in my current place for a few more months and possibly finish the renovations in spring, I decided to revive the garden beds here and get a few quick cheeky winter vegetables in. Having the garden has been a tremendous help both in reducing my grocery bills and providing greater variety to my diet. As the garden on the homestead won’t be ready until spring, I wanted to use it one more time before I pull it all apart.
Solar power is happening
I have been researching and shopping around for a solar setup for the homestead. After a few dead ends and flirting with a D.I.Y option, I found a fantastic company that specialises in properties that are off-grid, and not only were they able to suggest an excellent plan for my solar system, but they also looked at what I had planned in other areas and gave some great advice. I will be sharing this experience soon in greater detail, so stay tuned.
That is all I have for you today. I hope you enjoyed it. And if you’re willing to try your hand at brewing mead, I wish you luck. So, until next time, have yourself a good one, and I will catch you then.
