Hello, and welcome back to the Vandemonian homesteader. I hope that life has been treating you well over the past few weeks since my last post. Yes, weeks, it’s been a bit longer than I had planned, and I apologise. Life has not been slowing down for me as I had thought it might; if anything, it has done the opposite. And while this is by no means a complaint, I, like many other people, wish the days were a little longer so I could get more done.
Now that winter is fully upon us down here in southern Tasmania, I have started to busy myself with a list of jobs I have been putting off for one reason or another or that I haven’t had time for up until now. The two biggest jobs are making the new garden beds I have been talking about and clearing some land out on the bush block for a house site.
As for the house site, I have been making regular trips out to the bush block regardless of weather to get a feel for what parts of the property get the best sunlight all year round. The last thing I want is to build in a place that only gets direct sunlight in the summer months, especially if I’m relying on solar power. As it currently stands, I have one site that looks promising. Not only does it get great sun all year round, but it has a nice view of the surrounding hills, and the road through my property passes right by it.
Regarding clearing the site, I only have to remove some bracken ferns and a few small trees, making life a tad easier. Now, I have to talk to my local council to see what I can and can’t do and get the ball rolling on deciding what I will initially put out there to live in. But that is still a while away. In the meantime, I will focus on what I can do here in my current place, which means finally getting around to building those new garden beds I’ve been talking about so much.
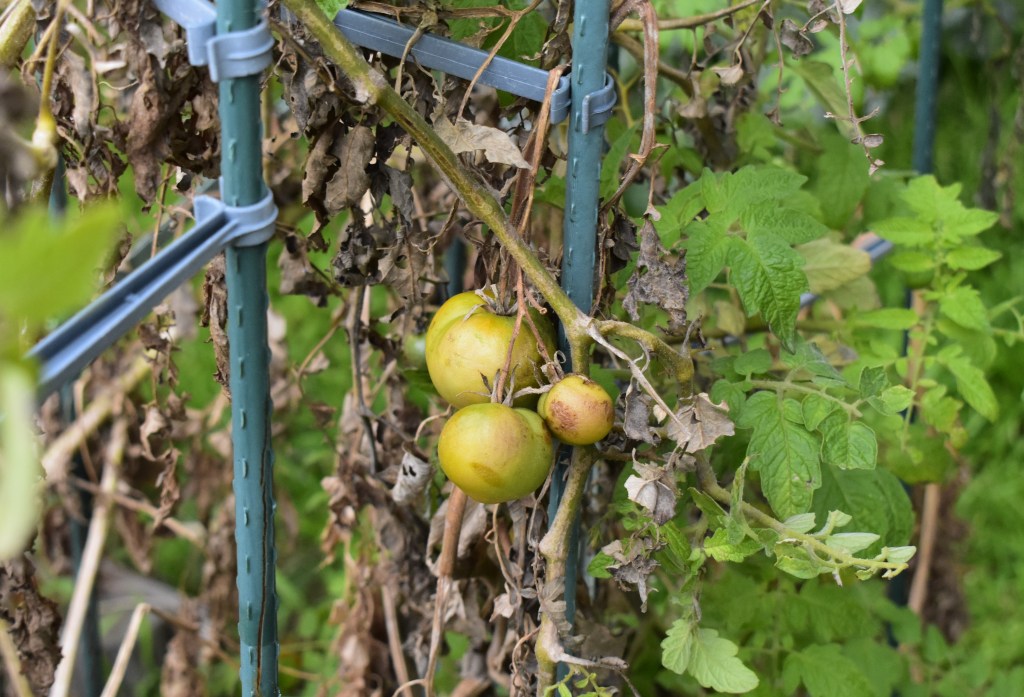
Initially, I had been putting off making the new beds as my tomatoes were still producing. I wanted to wait for them to finish before dismantling the raised bed I had them in. The other week, we got our first real frost, which seems to have stopped them. Now that the tomatoes and the remainder of the summer and autumn plants are dying off, I can start that project and prepare myself for spring.
This leads me to the main topic for today’s post—my indoor propagation station.
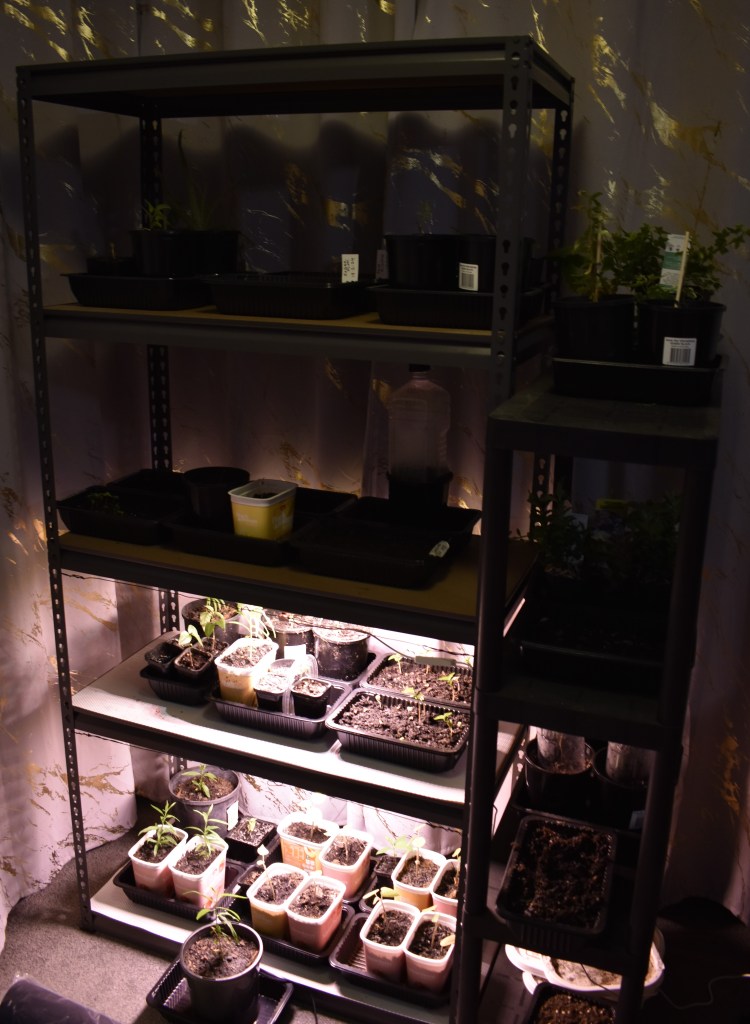
In the last post about the propagation station, I talked about setting it up with some shelving from my local hardware store, and some grow lights and a heat mat I purchased from Amazon. The full post explaining the process of setting up an indoor propagation station can be found here.
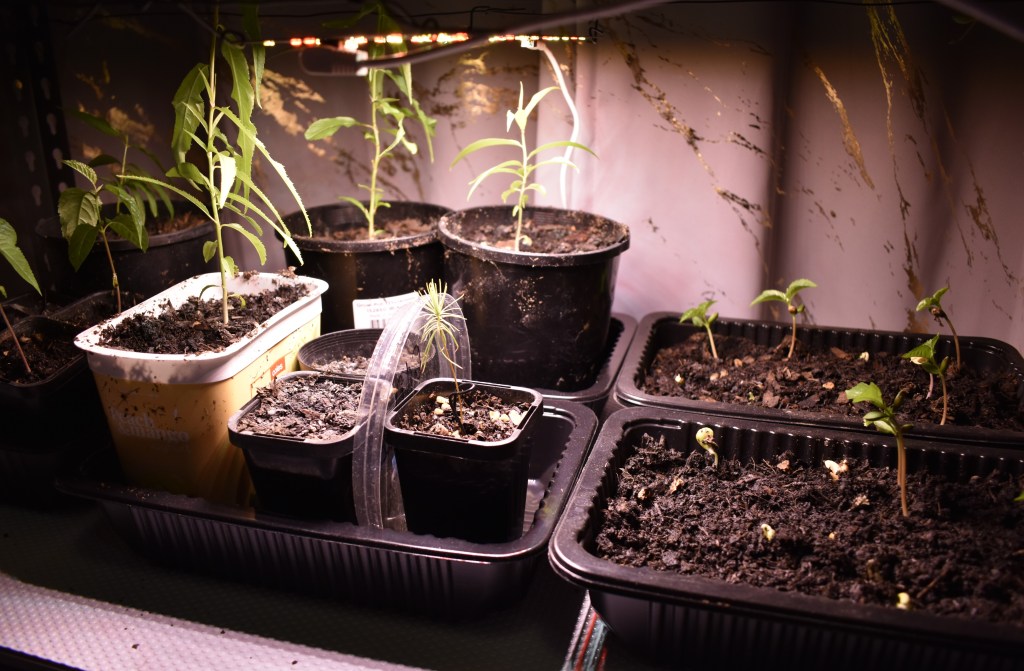
While I have been using the grow lights daily since putting them in, I have only started using the heat mat a little over a month ago. And it works wonders. So far, I have mainly been using it for growing fruit seedlings. Some apple, peach, apricot, and cherry seedlings are all doing amazingly well, being kept under the grow lights with the heat mat to keep them warm. It also houses the second batch of tamarillos, which are doing much better than my first attempt.
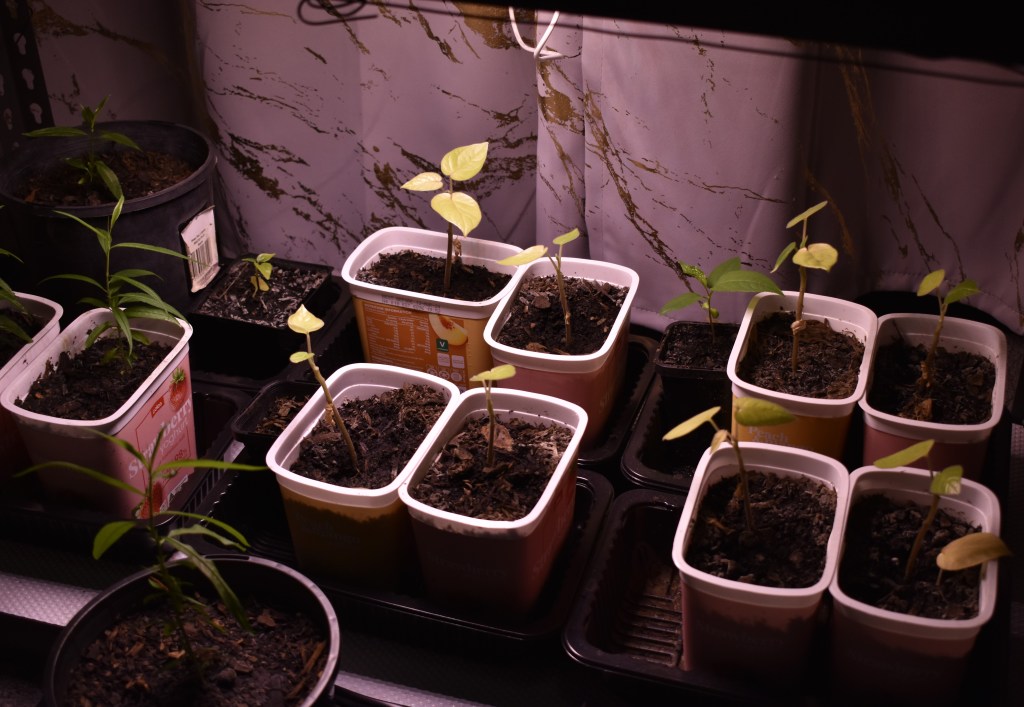
However, as great as it is to have them all there, I will need more space in a couple of months to start preparing seeds for spring. I also have a couple of other pot plants I will need to bring indoors to protect them during the colder months of winter. So, to prepare for this, I needed to expand my setup with more lights and heat mats and find a better way of organising my trays and pots to maximise my available space.
Light and heat
After a quick look on Amazon, I found and ordered what I needed. I decided on a set of four grow lights that were a little under 60cm in length. The plan is that I will move my two original grow lights to one shelf and install one new grow light for each of the other shelves. One of the reasons I liked and eventually purchased the new lights was that each one connected to the other, so all four grow lights plugged into each other, with only one of them having to plug into the wall. This was a massive draw card, as I don’t want excessive cables dangling around the station. Not only does it look untidy, but it could also be dangerous as water is a big part of the propagation station, so having fewer cables and plugs reduces the chances of accidentally spilling water and electrocuting myself.
And after looking at a few different types of heat mats, I decided to buy more of the one I had previously purchased. I found a pack of two for sale and went with that.
The new set of lights was at a reasonable price and set me back $68.99, and the twin pack of heat mats cost me $43.99 in total. Although some could say that cost a bit, I looked into buying similar equipment from some local stores and found the prices far more expensive than what was on offer through Amazon.
However, once the packages arrived, I quickly discovered things would not be as easy as I had initially thought.
After opening the parcel, I pulled out and checked the heat mats. All was good. But when I checked the grow lights, I discovered that the cables connecting each light were only 20cm long. It would be ideal if I were to suspend or mount them all in a line or next to each other in one place, but 20cm wouldn’t allow me to position them on each shelf as I had planned.

So back online, I went and after spending the best part of a morning and another $30. I found and ordered a replacement set of cables a metre in length.
In hindsight, I probably should have messaged the seller to confirm the length of the cables, but I will have to mark this up as another lesson learned.
Better organisation
A quick look at my station clearly shows that space is at a premium, so I need to maximise the number of pots and trays I can fit under the lights and on the heat mats, especially if I want to go big this coming spring while keeping my fruit seedlings happy. In its current state with the rag-tag mix of pots, yoghurt tubs and reused meat trays, I’m losing a lot of space to all the odd shapes, particularly the trays I use under them as drip trays or saucers. To rectify this, I found a large rectangular drip tray at my local hardware store that fits amazingly well onto the shelves im using. It only cost $17, so that fits beautifully within my budget. However, I will wait before I purchase more as I want to see how well it performs with the heat mats. Being a thicker plastic, I’m worried that the heat from the mats won’t get through to the seed trays and pots effectively. As with everything, it all comes down to trial and error and finding something that will work here for me and my setup. If it works, bully for me. If not, I will head back to the drawing board.
Another step I will be taking to help save space is to find and decide on a few different sizes of pots and trays that I will use as a standard. I will then slowly phase out all the odd-sized containers currently in use and, with any luck, free up more space to prepare my spring seeds.
Unfortunately, I would love to share pictures of the completed changes to the propagation station with you right now, but given that I also plan to move and reposition some of the shelves, I will have to dismantle most of it and start again. This is a task I don’t want to do until everything is here and ready to go. As I am still waiting for the longer cables for the grow lights to arrive, it will be a few more weeks before I can make the new changes. When those cables arrive, I will get to work and share the finished product with you, so stay tuned.
Having initially set up my propagation station back in early autumn, I believe has been a great benefit. Although I haven’t used it for much other than the fruit tree and strawberry seedlings. Seeing how it works as we move further into winter has been great. I have identified elements that needed improving well before I needed them. Each tweak and improvement I make now will prepare the station for the upcoming spring.
This is why I decided to discuss the station a second time. Many people, like myself, aren’t able to use a greenhouse or polytunnel in their backyard. If I wanted to, I have the space to put in a small greenhouse, but with my plans to move out of here in a couple of years, I don’t see the point in making such an investment. Although small- to medium-sized greenhouse kits are available, Im not really a fan of using them. Don’t get me wrong, I have used them successfully in the past, and they can be handy. However, the cheap materials they use don’t last long.
I know I’m not giving them a lot of praise. But I do admit they are great for a quick fix. Or for those just dipping their toes into the world of gardening. They last one or two seasons, and that’s about it. If that works for you, then go ahead. Please don’t be put off by my opinion of them. As I said, I have used them in the past, and they worked well for me. The reason I’m not buying any now is that if I get a greenhouse, I want it to be a permanent structure, and I don’t want to purchase a product mostly made of plastic that will only deteriorate and be thrown away.
This is why I have put so much effort and resources into the indoor propagation station. And that is why I recommend that others do the same, especially if they have the space and ability to do so. Not only does it perform the same role as a greenhouse house, but it also has the added benefit of bringing more of your plants indoors. And what’s not to love about that? As I wait for the kettle to boil for my morning coffee, I look at all the new seedlings and see how the others are progressing. I get a real kick from that and I couldn’t imagine a better way to start my day.
In other news
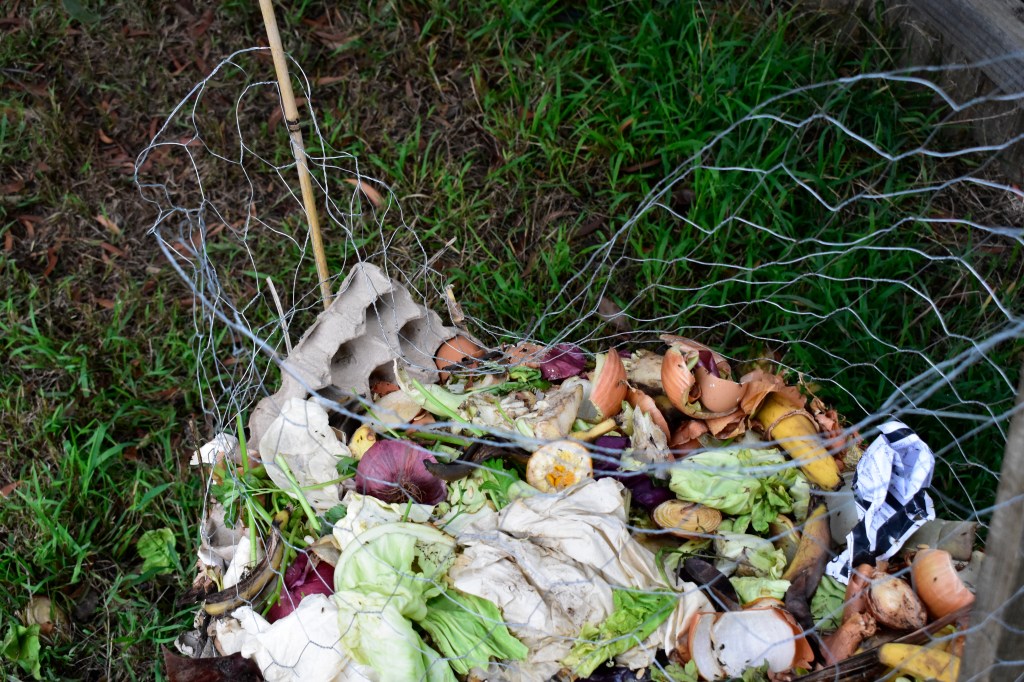
I kept myself busy while waiting for all the bits and pieces I ordered for the propagation station. The daily rhythm of weeding and watering has continued as usual. However, thankfully, in winter, I don’t need to water as much as I used to in summer, so I should be getting a more reasonable water bill this quarter. The newest addition to my daily chores, stirring the compost heaps, has become an interesting task. I am beginning to find that the screw-like part at the bottom of the compost stirrer often gets decaying plant matter or wet paper wrapped around it that I must remove by hand. This is rather an unpleasant task, especially first thing in the morning—other than that, the compost heaps are progressing well. Im even considering adding another.
I have noticed, though that my resident possum, who I should really name at this point. Has taken a liking to the chicken wire compost heap. He’s pulled the wire edge down on one side, allowing himself access to all the food scraps. I returned home one evening after going out for a post-dinner walk. And happened to spot him sitting next to the compost heap, reaching into it like a little kid reaching into a cookie jar. He would then pull out some food scraps that interested him and sit there eating it, only to reach in for another when finished. I have even found a small pile of scraps he’s left at the base of a nearby tree. And my god, is he a well-fed possum. It’s no wonder I can hear him moving about on the roof at night.

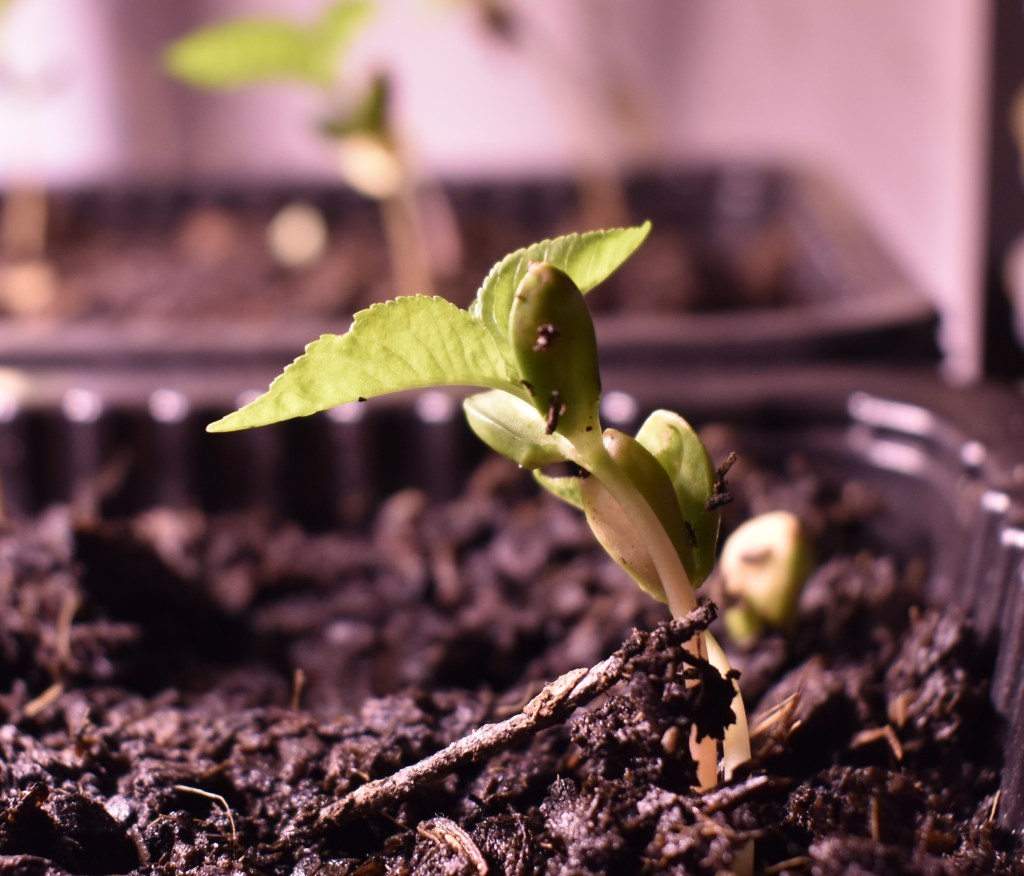
Other than that, the herbs in my planter have started to sprout, which is excellent. I now need to find a cover for them before things get really cold so they can keep doing their thing and ignore the frosty mornings. The broad beans and bok choi are also doing well, which is making me happy. I am beginning to look forward to harvesting them. I only hope that the compost heap is enough to keep the attention of the possum away from the bok choi and beans so he doesn’t feel the need to investigate them like he has done everything else.

And with that, we come to the end of another post. Thank you very much for dropping in. I will be making a potato storage bin next week (yes it will be next week, not next month). One of the raised beds I will be pulling apart is full of potatoes. So, as it comes down and I start to move the dirt, I will, fingers crossed, come across a few spuds. So I want to make a nice wooden storage bin for them to keep in my pantry. Before I go, if you have any thoughts or suggestions on what I should name my resident possum, feel free to leave your suggestion in the comments below.
Until then, thanks again for dropping by. Look after yourself and until next time have a good one.
