Hello, and welcome back to the Vandemonian homesteader. Hopefully, the past two weeks have been treating you well.
First things first, sorry for not posting last week. At the moment, I am pushing myself to finish my renovations. The quicker they are done, the faster I can move on to my next project, which, as I discussed in my last post, is growing fruit to make jam and preserves for the local market. And considering I’m almost ready to start painting my bathroom, the end is nearly in sight.
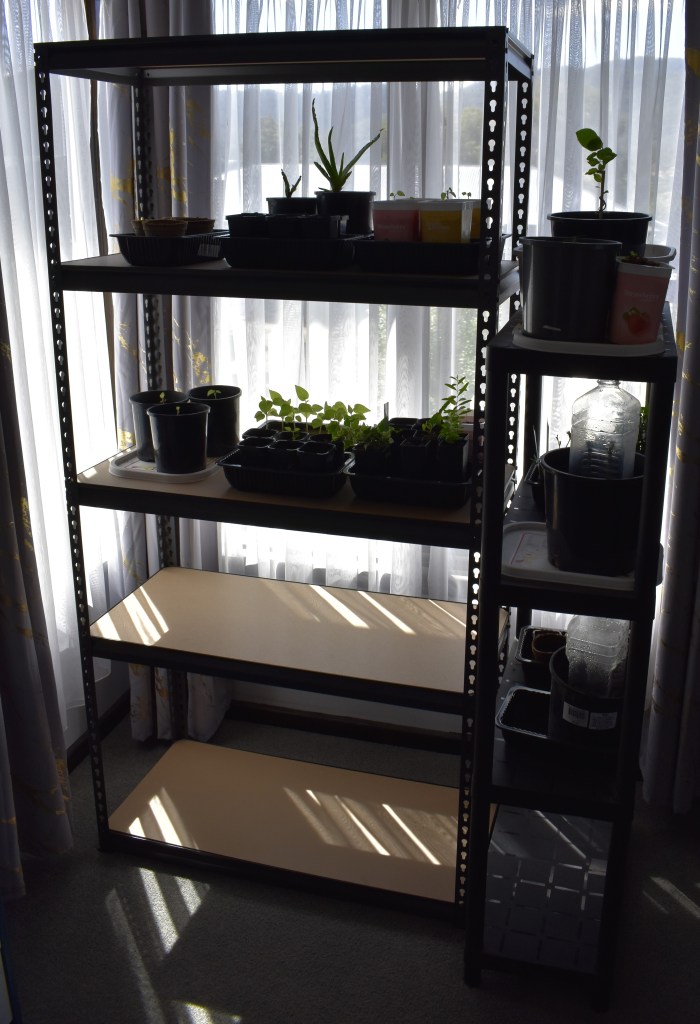
Jumping straight into today’s topic, I want to discuss how you can set up a simple indoor propagation station. It’s a pretty straightforward little setup that can be put together in any house and be as complicated or as simple as you want. Obviously, the size and complexity depend on the available space and the money you can spare. I decided I could go without my dining room a while ago, so I packed it up and repurposed it for growing seeds as it ticked many of the necessary boxes.
Having an indoor seed-raising or propagation station has many uses. Most importantly, though, it allows you to get a head start on your plants before their season begins, which means you have all your seedlings ready to go by the time spring rolls around. Creating a safe and controlled environment for your seeds, seedlings, and cuttings can help them get established and give them a greater chance of success during those early stages of growth, especially when they are susceptible to the elements and pests.
How to
If you’re looking to set up something similar in your own place, you will be relieved to hear this process is very simple. I know a lot of experienced gardeners reading this may be put off by this having to be explained, but to them, I say, we all have to start somewhere. I am writing this for everyone regardless of skill level, experience or equipment they have at hand. This is all about doing what you have with what you have.
The two key ingredients you will need are a window that gets full direct sun all day and a piece of furniture or a surface to position by it. It is also worth mentioning that if your window opens and allows a breeze to come through, this is a great bonus, as the gentle movement of air around your seedlings and plants encourages them to grow stronger. This helps them deal with the wind they will encounter when you eventually move them outside. And that’s it. Now, you are set up and ready to start growing.
But there are some things you should consider before you start moving furniture around your house. The piece of furniture you use by the window should be chosen carefully. Tables, side tables, and desks are ideal, as the large flat top is great for positioning all your plants on top. However, a set of shelves is better as it allows you to fit more plants or seedlings on and allows them all to get equal light. You will also need to avoid any furniture items that are too large or bulky. They can restrict the light that comes through the window. And as much as you want your plants and seedlings to get as much light as possible, you still want some to flow into your room or living space. At the end of the day, use what you have until you can get something better. Before I got the metal shelves I am currently using, I initially started with my dining table and a small black plastic shelving unit I pulled out of my shed.
Of course, once you start growing, I daresay you will want to add more to your propagation station to help improve its efficiency: grow lights, heat mats, or perhaps fans. Although they are not necessary, they can make a big difference in the growth of your plants.
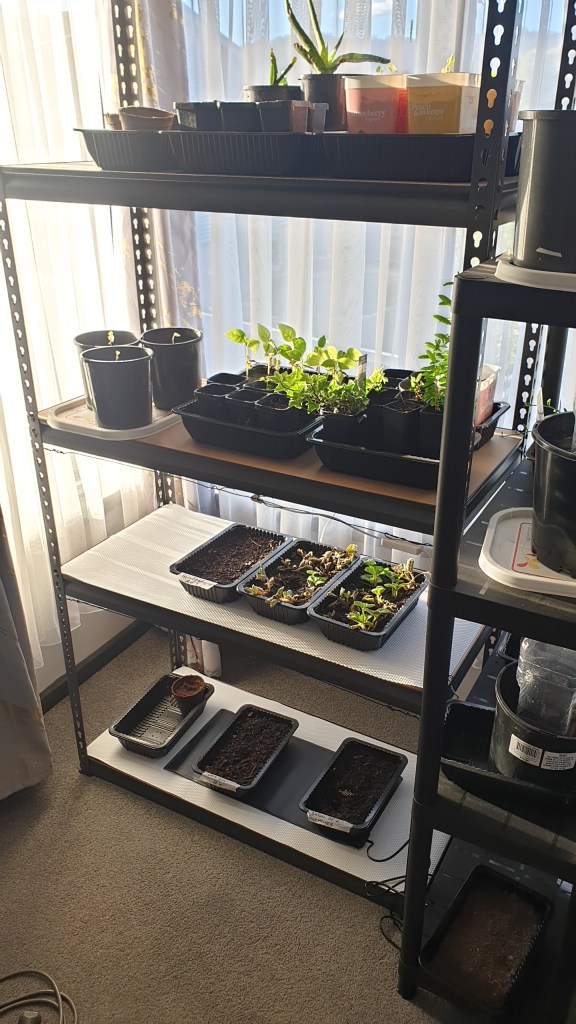
Realising I would need something a little more serious to do what I had planned for this year, I decided I needed to upgrade my setup. This is why, in my more recent posts, you may have noticed the shelving unit I now use. It’s a large metal framed flat pack with MDF panels for shelves. I also ordered a pair of grow lights and a seed mat.

Using some insulated wire, I strung up one grow light over the bottom shelf, and the other was placed above the second shelf. These grow lights are great little compact panels with a timer to select one of the pre-set settings. I don’t use any of the settings, though I just turn them on as the sun sets and let them run till about nine-thirty. I’m pretty much recreating the length of light they would be getting during the middle of summer. I also haven’t needed to use the seed mat yet, as the average temperature these days is around the mid-twenties Celsius, so it’s currently warm enough.
For those who don’t know, a seed mat or seedling heat mat is essentialy an electric blanket for your seeds. You lay it out on your bench or shelf and place your seed trays on top. It helps to keep them warm, encouraging growth during those colder months of the year.
And if you haven’t got a spot with a window that opens, don’t worry. A small pedestal or even CPU fan can be installed to blow air over your seedlings. As I mentioned, this helps strengthen them so the wind doesn’t destroy them. I currently don’t need any fans as I have a window that opens, and with it being near the backdoor, it creates a great little breeze that does exactly what I need.
All in all, I spent sixty dollars on the shelves at my local hardware store. The grow lights set me back a little over forty dollars from Amazon, and the seed mat was twenty dollars, also from Amazon. I also brought a few rolls of drawer liners for five dollars each. They are sheets of textured plastic that I lay out over the MDF shelves to help protect them from spills as I water the plants.
Quick garden update
Before I wrap things up today, I thought I would give a quick update on my garden.
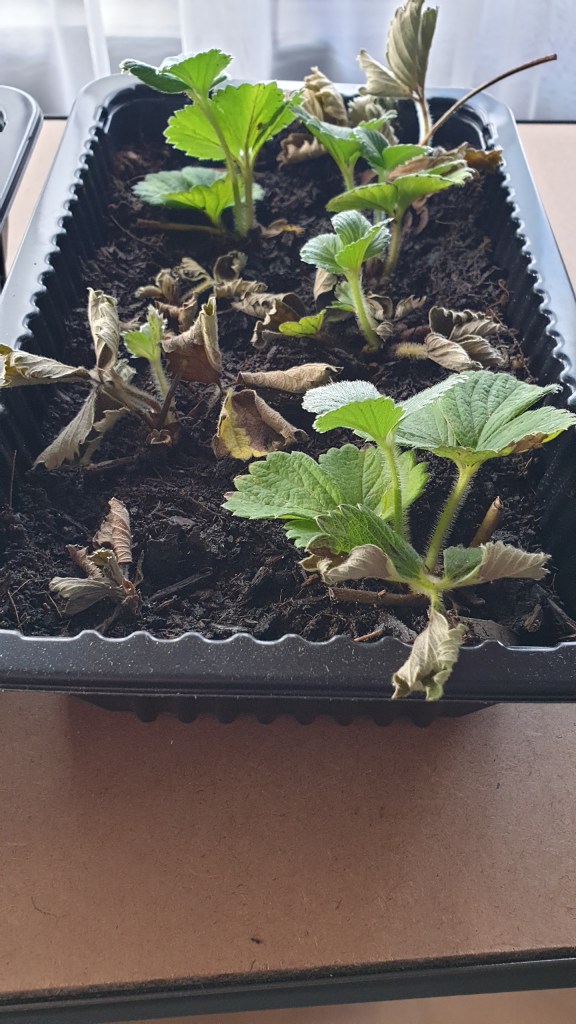

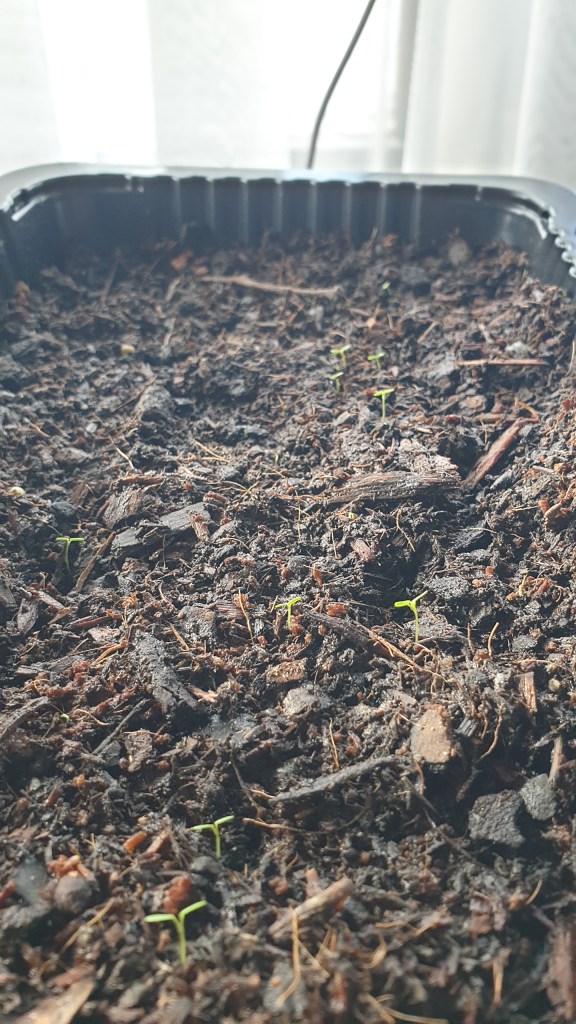
The strawberry seeds I planted a few weeks ago are beginning to sprout, and the strawberry cuttings have had a fifty percent success rate and are almost ready to be moved to the strawberry towers waiting outside. I was hoping that a few more of the cuttings would have survived, but as I said in the post, as I planted them, I expected a few to fail as they weren’t developed enough. Overall, I am happy with their progress.
I am still having to deal with the aphids on my Brussels sprouts. I have been using white oil, and it is helping, to be honest. But the sheer number of aphids means I must keep a close eye on the sprouts, especially if I want to harvest any this year.
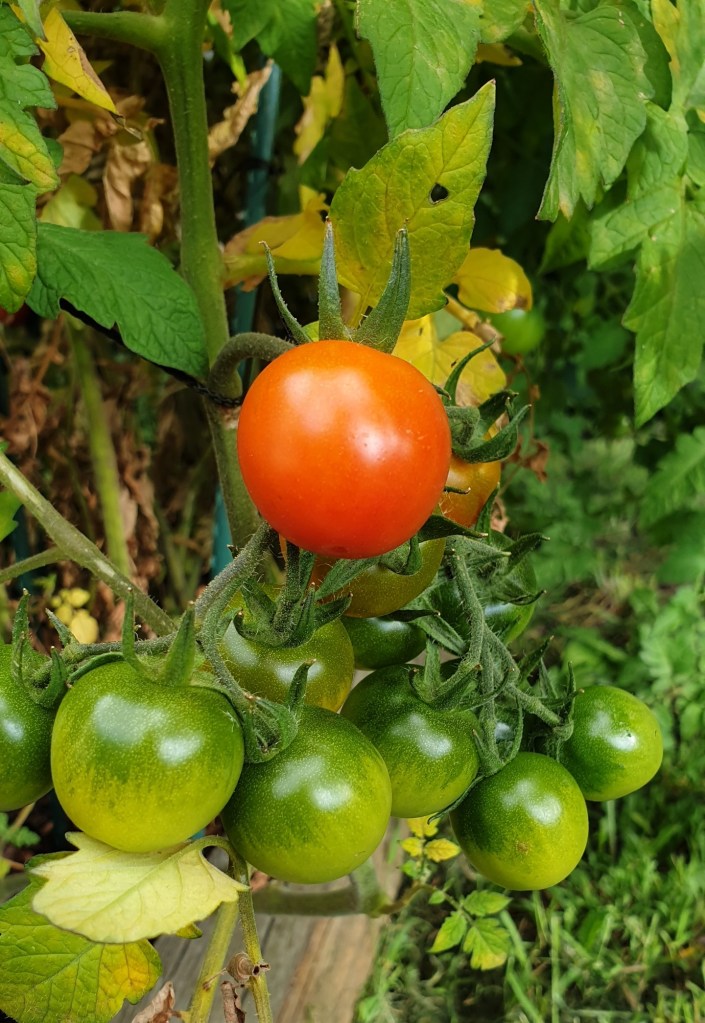
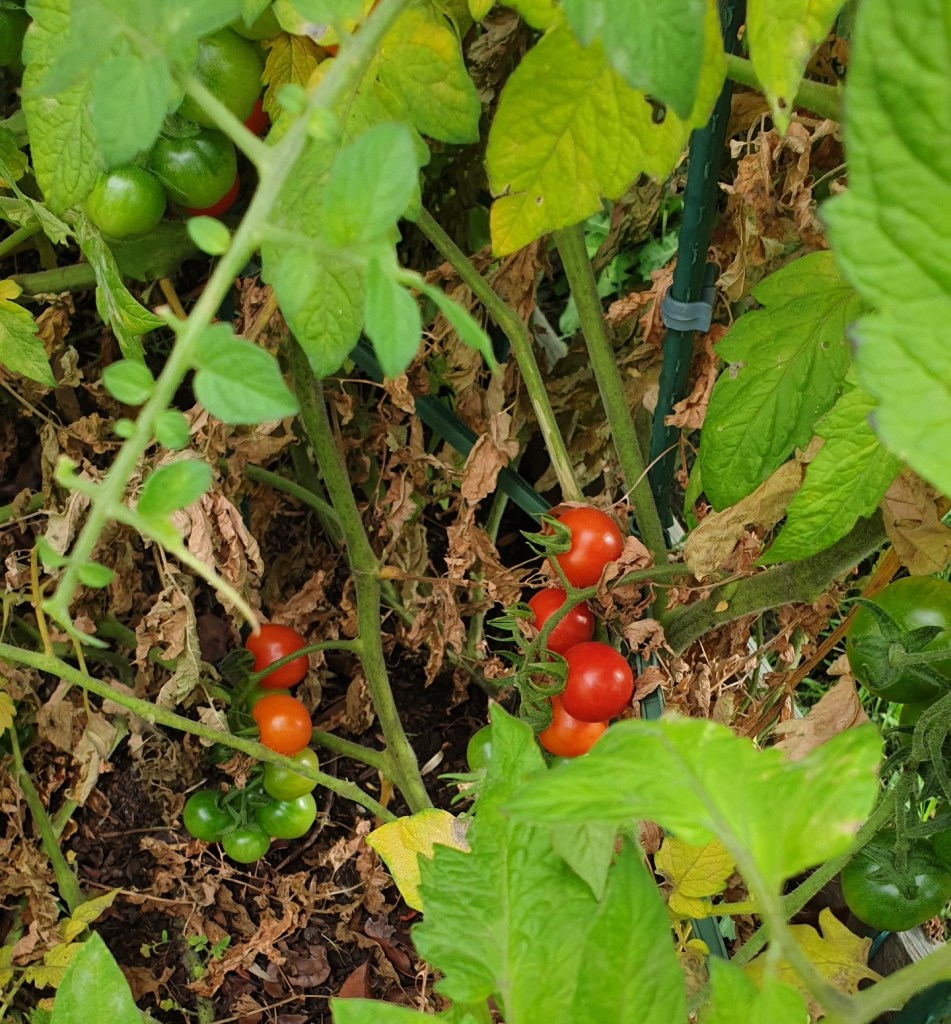
Finally, my tomato plants are starting to deliver. My cherry tomatoes are the first to ripen, while my larger tomatoes are still another week or so away. Thankfully, my resident possum has shown no interest in these, so for now, they are all mine. Considering I had written them all off a few months ago as a failure and was ready to repurpose their bed, I am now surprised at how well they are doing. I harvested my first batch earlier today, and nothing tastes better than a fresh tomato.
With that, we come to the end of another post. Thanks again for joining me today. I hope you’ve gotten something out of it. Until next time, look after yourself, have a good one, and I will catch you later.
