Hello, and welcome back to the second part of my Strawberry trilogy. I hope that the past week has treated you well.
If you missed the first part of this trilogy, you can find it here.
Last week, I touched briefly on the different types of strawberries and provided some information regarding their growth and harvest times to help you decide what strawberries would work best for you. Today, I will share two methods you could use to propagate strawberries at home. As I mentioned in my last post, I have set up my grow lights and seed mat to help my seedlings develop quicker as the cooler months and shorter days approach.
For those who are interested, I will be going over the setup of my indoor section in a few weeks, so stay tuned if you would like to know how you can set up something similar at your place.
And with that, let’s dive in.
Growing from cuttings
As I discussed last week, the runners set out by strawberry plants are essentially the plant spreading out and growing on its own accord, and when a runner finds a suitable location, the roots form. And It quickly develops into a daughter plant.
Allowing the mother plant to send out runners is the quickest and easiest way to get more plants. However, letting the runners go where they please can be messy and result in plants striking where you don’t want them to. Thankfully, they are hardy, and you can easily cut the runners off and plant the sprouting nodes wherever you like. With a bit of water and care, they will strike and grow into a new plant. And if you like, once the plant starts new growth, you can simply transfer them to a new container.
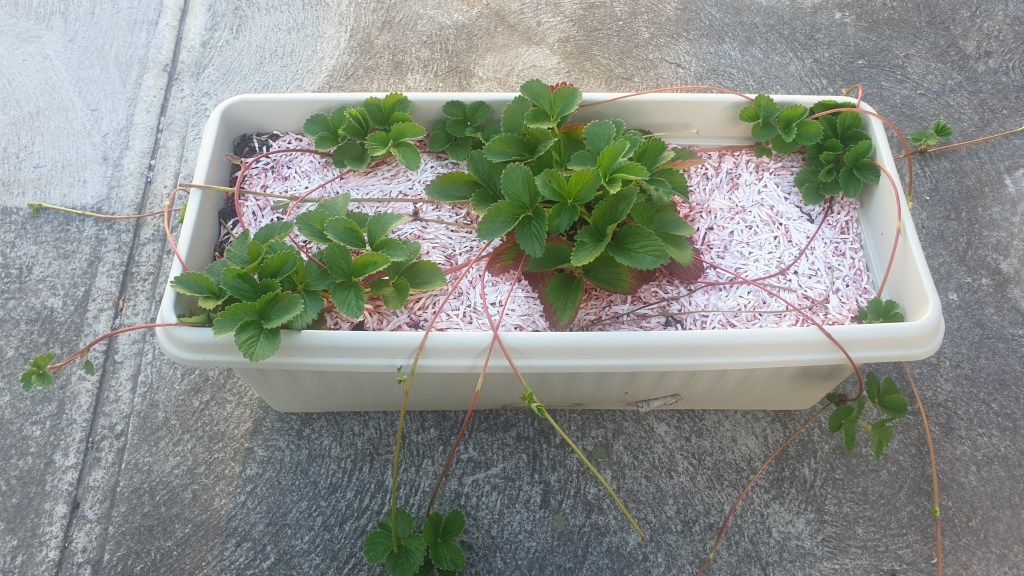
Looking at my mother plant in the picture above, you can see that I have been letting the runners go wild. Now that I have a decent amount of them, I will take some cuttings and transfer them to some pots I will keep indoors, and once the roots have struck and the plant starts to develop, I will transfer them to a new container back outside.

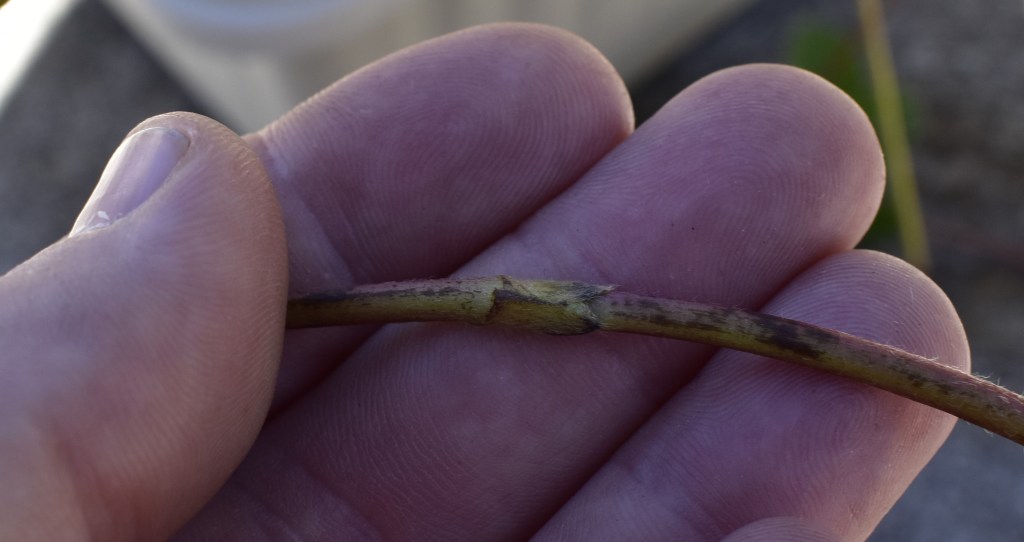
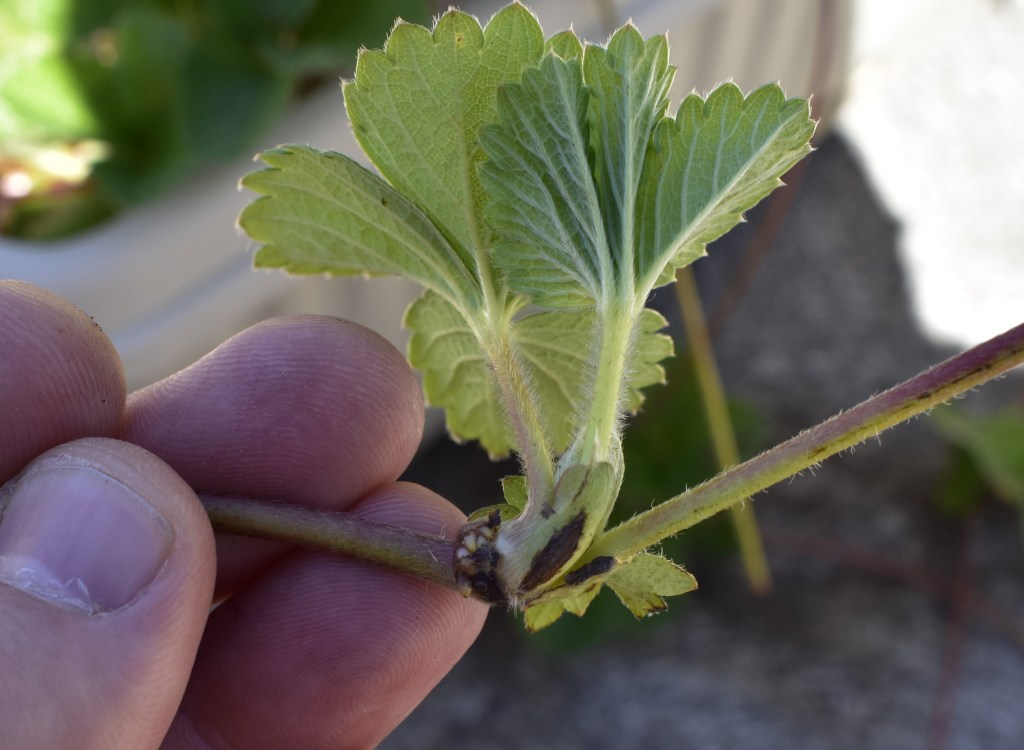
When you take a strawberry cutting, you must look for a node with a few small leaves and these little bumps underneath. This is essentially a tiny strawberry plant ready to go. When the node detects suitable conditions, these little bumps develop into roots, allowing the node to grow into a proper plant. Some of the cuttings I took were the ends of the runners, so they are a lot less developed than some of the others. I am still including these with the other cuttings just to see if they can still strike and grow into something.


Cut the runners roughly 2cm on either side of a suitable node, then gently place the node into a prepared pot of soil. You don’t want to bury it entirely, but enough to cover the node’s roots or base. Then give it a good drink, sit it somewhere warm and sunny and wait for the magic to happen. It is also worth mentioning that during this stage, the container where you have planted your nodes should be kept somewhere sheltered, as a good wind can easily blow them away.
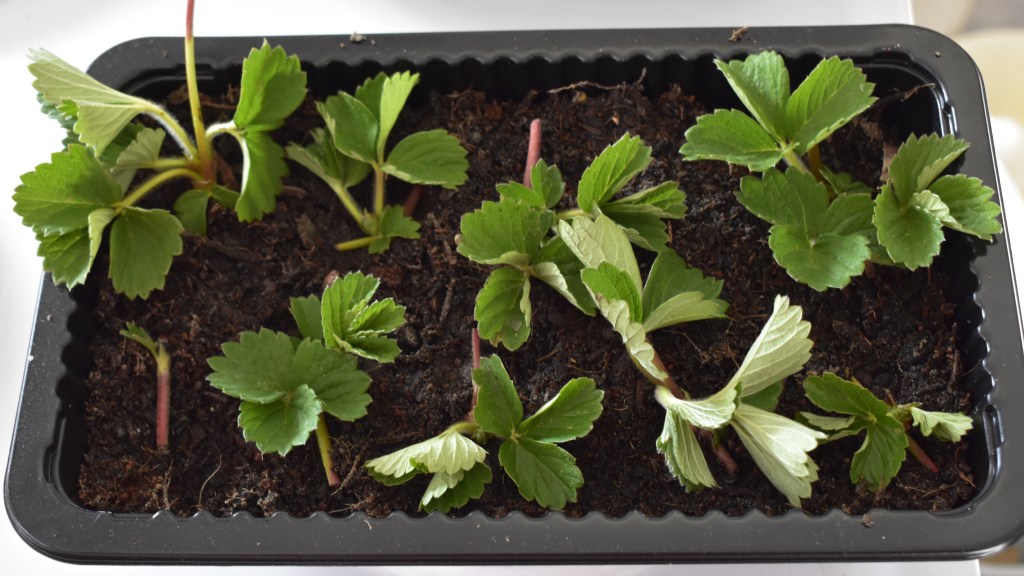
The leaves may droop a little and look limp for the next few days after you have planted the nodes. Provided you have kept them somewhere safe and sunny and are watering them, they will perk back up after roughly two weeks. Give them another week, and then you can transfer your new plant to its permanent home.
Growing from seeds
For the next method, I have prepared some seed trays with a media that has quickly become a favourite of mine. It’s two parts soil from my bush block, one part coir brick and one part potting mix. I have been travelling out to my bush block and bringing back buckets of soil. It’s a great sandy soil, and because of a bushfire a few years ago, there are plenty of chunks of charcoal in it. I have been sifting it to remove any unwanted large rocks, bugs, and roots and breaking up large chunks of charcoal caught in the sieve. I trailed it with some seeds a while ago and had much greater success with it than any of the store-bought seed-raising mix I had tried.
A few weeks ago, I purchased some seeds online, and amazingly they arrived. As I mentioned last week, getting seeds into Tasmania can be difficult as, just like mainland Australia, we have strict quarantine rules regarding what can or can’t be brought into the state.
I purchased three varieties of strawberries: white soul, Ali-baba and baron solemacher. All three are alpine strawberries and are everbearing, so they will be churning out fruit from spring till the first frost. Alpine strawberries are typically smaller than most but have a more robust flavour and can be quite aromatic. From what I have also read, there are mixed opinions on whether or not they send out runners. Some people say they do, and others are adamant they are propagated only by seeds. So I guess I will have to wait and see, but until I see runners, I will assume they propagate by seed.
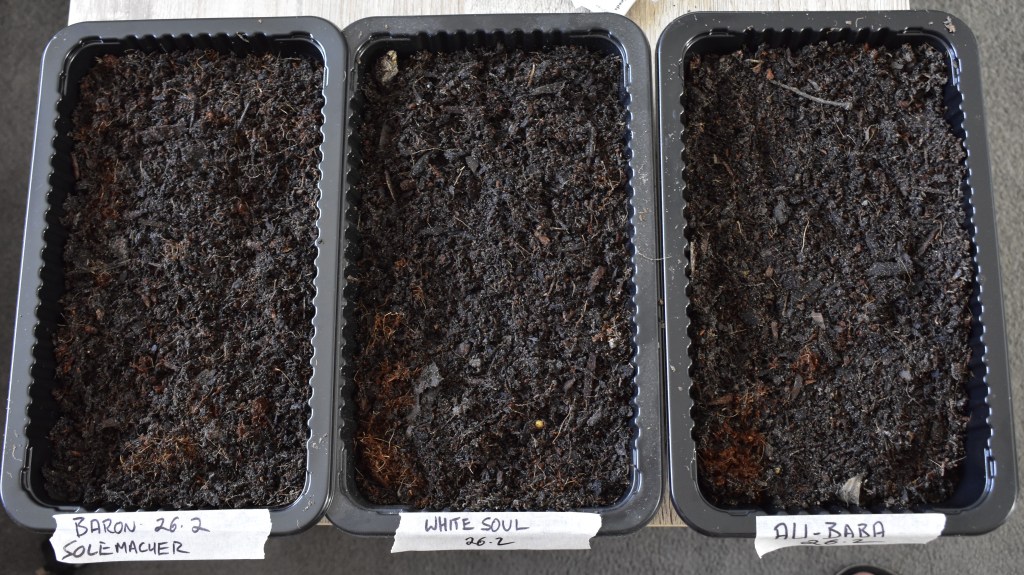
I sowed the strawberry seeds by tucking them 3mm under the soil and spaced them roughly one centimetre apart. If I were sowing these seeds into the garden where I wanted them to grow instead of my seed trays, I would space them fifteen to twenty centimetres apart. This way, there would be plenty of room for the plant to grow and mature. If you are doing the same as I am and planting them in seed trays, don’t forget to label and date the trays to help you identify them and keep track of their progress.
With that done, I placed my trays onto the new heat mat and under the grow lights. Although I won’t need the heat mat just yet, as the weather is still warm. And now I wait for nature to do its magic.
And there you have it, two easy ways to propagate strawberries at home. Of course, you could go out and buy a couple of plants from your nursery, but let’s be honest, that’s not as fun as the trial and error you get from doing it yourself. And the reward of eating something you have grown from seed is much sweeter.
Thank you for dropping in today. I hope this post was helpful. Next week, I will post the third and final instalment of the strawberry trilogy, where I will build a strawberry tower using some old PVC pipe. I have recently become quite keen on strawberry towers as they look great and allow you to grow several times more plants than you could in a regular garden bed. And their height makes managing and protecting your strawberry plants so much easier.
Thanks again. Have yourself a great week. And I will catch you next time.
