Hello, and welcome back. I hope you’re all doing well. With spring under full swing here and summer fast approaching, I hope your Gardens are prepared for a productive season. If they aren’t, don’t fret. After today’s post, you will be more than ready to start growing.
I know my timeframe for completing my garden given in my previous post was a little too optimistic, especially given the current demands on my time. I had hoped to post it last week, but sadly, time had gotten away from me.
One of my other projects, the bathroom renovation, is becoming bigger and dragging on for much longer than I had first expected. It’s not an issue. If anything, I’m happy it has. It has shown me my inexperience and has been a fantastic learning curve. I want the end product to look good, and there are a lot of skills I have to teach myself to achieve that. But so far, I am happy with how it’s progressing, and thankfully, it’s beginning to come together nicely. Still, it has become an enormous time commitment, especially when you consider a bathroom is a required part of the modern home, and you quickly notice its absence when you need to bathe or use the toilet. Thankfully, it’s nearly done, so soon, life can return to normal.
Although I have been mainly focusing on the renovations for these past few weeks, I have still been able to steal a few hours out in the garden.
And it has been a godsend. The feel of dirt on your hands, the smells of the earth and flowers, the sounds of the birds. I have forgotten how much I enjoy a day out in the garden pottering about. And to be honest, the day I spent out there was busy. I have dug all the beds I wanted, made all the needed rows, and got all the seeds in. Now it’s a waiting game, well, not really. I have decided to add another garden bed and sow some more seeds, but I will discuss that later. Between what I have now and what I will prepare soon for summer, easily eighty per cent of my backyard will be a garden. And that’s something I am looking forward to seeing.
One of the things that surprised me most about returning to Tasmania was the cost and quality of the fruit and vegetables available. For a state known for its fresh produce, I am disappointed at what’s on the shelves and the price I’m expected to pay for it. I know and understand that the best of the harvest is sent over to the mainland, where buyers will pay more for it. It’s always been like that, and it makes sense. But it appears to have become a joke in recent times, as the quality has slowly decreased and the price increased. Given that the two leading supermarkets here in Tasmania have a market monopoly, there is little you can do other than visit your local veggie shed or grow your own. And that’s precisely what I intend to do.
Getting on with the job
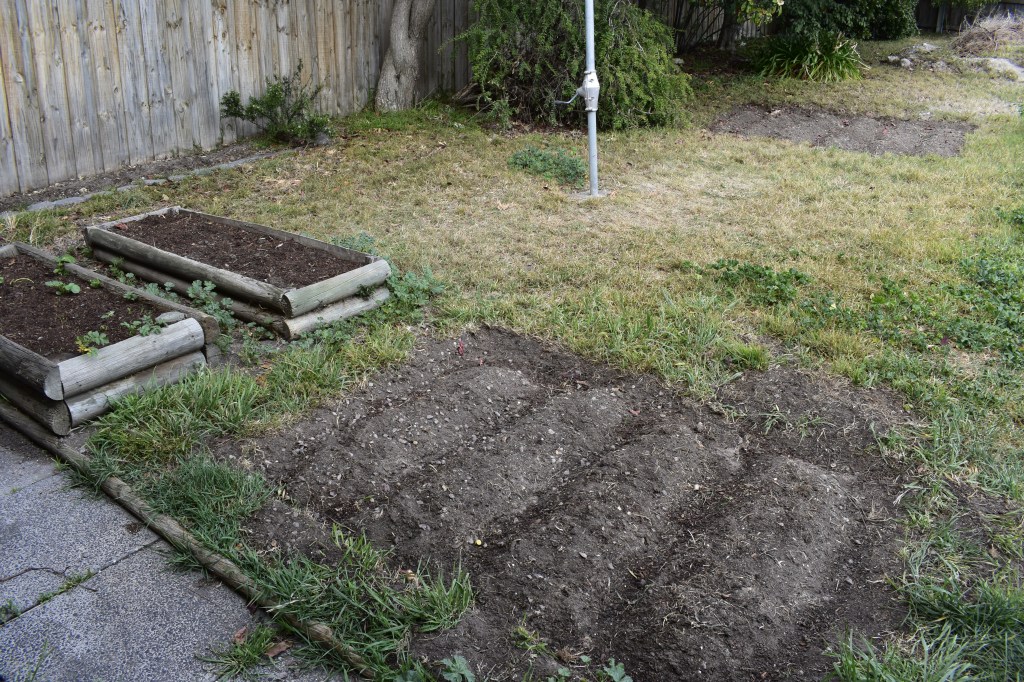
I ended my last post after getting the two timber beds topped up with soil and repaired. Since then, I have only added a little compost and given them a few good long soaks with water.
The in-ground bed along the fence had roughly ten litres of compost mixed through and was also given a good soaking. Last week, when I was working on the two timber beds, I weeded and added some gypsum and garden soil to this bed, so at the moment, I didn’t need to add much more to it. With my hoe, I formed a single row or mound that ran down the length of the bed. Then, I scraped a shallow groove along the row and deposited my brussel sprout seeds. I covered them back over and, using a gentle shower setting on my hose, gave the entire row a good, deep soak.
When planting seeds, it pays to look at the packet’s directions for the correct depth at which your seeds should be sown, especially if you are unsure. A great little rule of thumb is that a seed should be sown roughly two or three times its width beneath the soil. Some smaller seeds can germinate better when scattered over the soil’s surface.
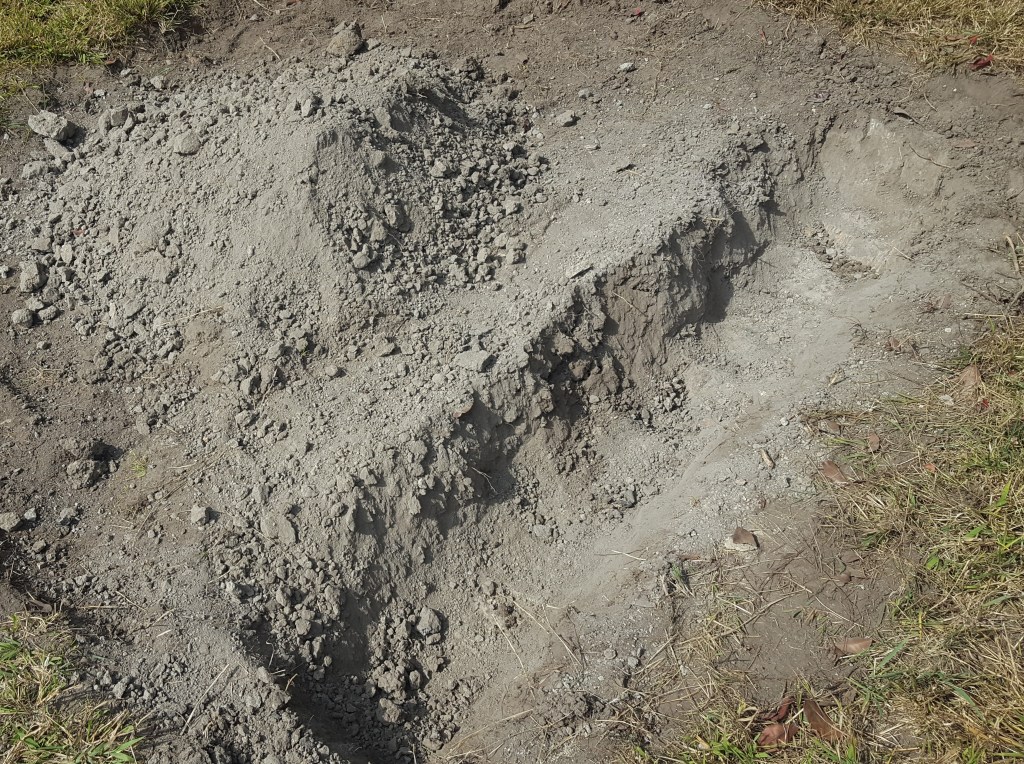
As for my two new garden beds, I was quickly reminded of how fun and how much of a workout it was digging in clay. First, I measured where I wanted the beds to be, and then, when I had them marked out, I removed the grass, exposing the dirt/clay underneath. I achieved this using a spade, hoe, mattock and a dose of good old-fashioned elbow grease. Any tufts of grass or weeds that I dug up were tossed into my compost heap. These beds won’t win any prizes for Tasmania’s most beautiful gardens, but they will do the job. If I had the time, money or desire, I could add a border or something to help clearly define the edges. But other than aesthetics, they serve no real purpose, so I won’t.
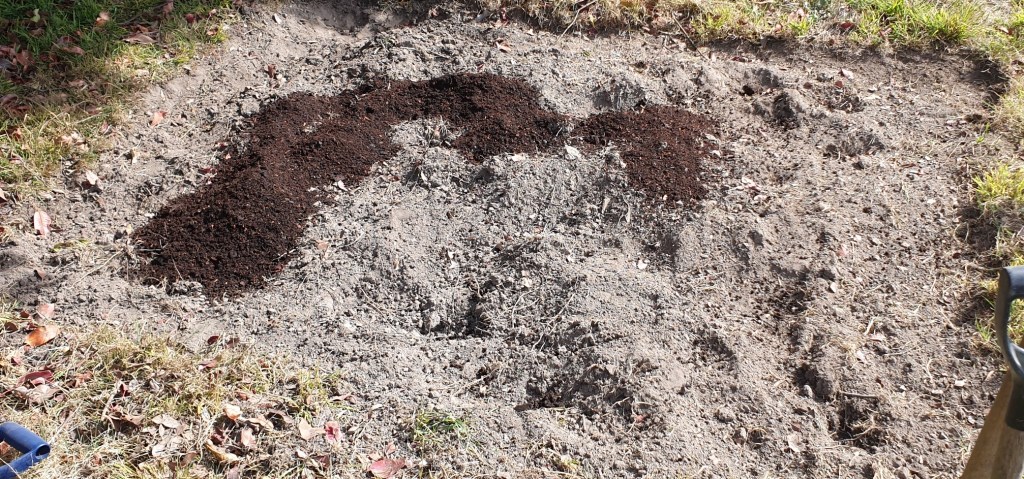
Using my mattock, I then attacked the clay and soil. My goal at this stage is to loosen everything up for my next step: mixing in garden soil, compost, fertilizer and gypsum. I find it isn’t as effective if you just dump everything on clay soil; mixing it through even just a little makes a huge difference, in my opinion. And like everything else, it got a good long soak, and I let it sit for a week, watering it every two or three days.
As I mentioned in my last post, it can take a couple of weeks to a month, sometimes longer, for gypsum to really work its magic. But I am hoping with the addition of some garden soil. I can help carry the seedlings through until that point in time.
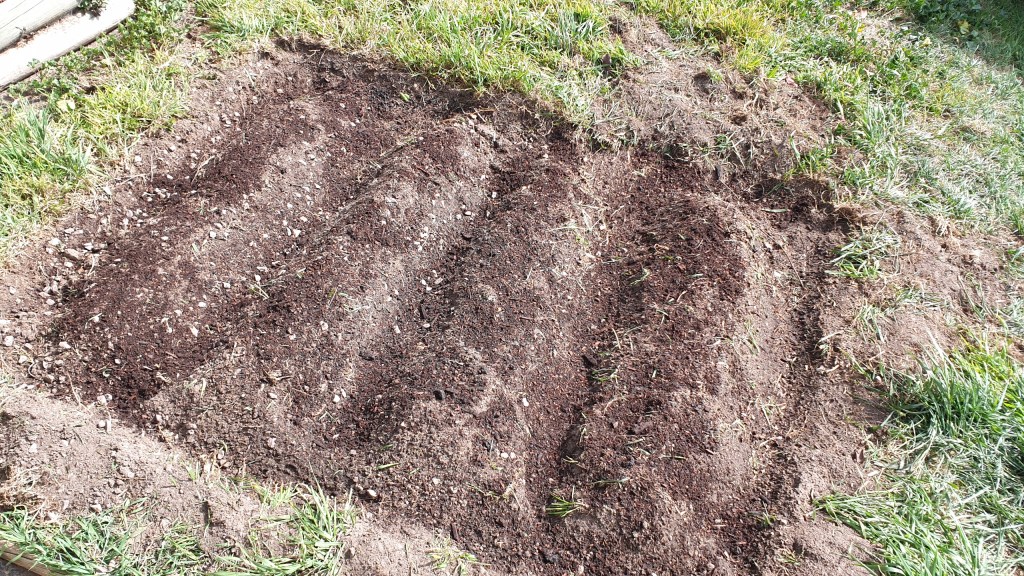
Last but not least, I set about sowing my seeds and potatoes following the same method I used for the Brussels sprouts. Every two or three days, I give them all good water, and now I need to focus on keeping them free of weeds and pests.
An interesting tidbit I thought was worth mentioning is that many years ago, when I used to live in this place, I had a garden bed where I did a little experiment with hügelkultur (hoogle-culture). For those who don’t know, hügelkultur is a practice of building raised mounds that act as garden beds by stacking and layering logs, branches, sticks, compost, and soil on top of each other. I hope to have another go at it in future and will write about it when that happens. Back then, I had recently put in fences and had a lot of branches left from where I had to cut back trees along the fence line. Instead of building a mound as you are supposed to, I thought I could dig a series of deep trenches and layer them in the same fashion you would make a mound. It must have worked as I know I got some fantastic results from whatever I planted there, and I am surprised that even though that was a good few years ago, the soil in that area, although still with clay, is better than other areas of the yard. So, fingers crossed, I can match that success.
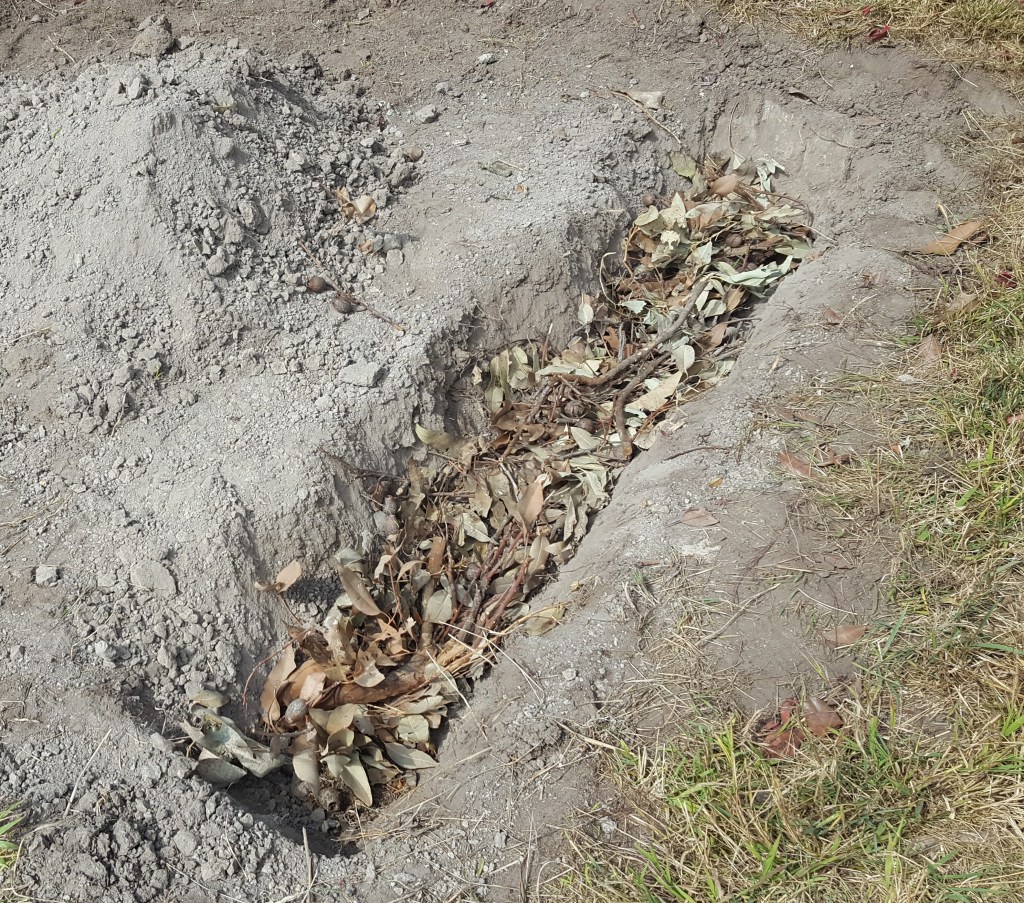
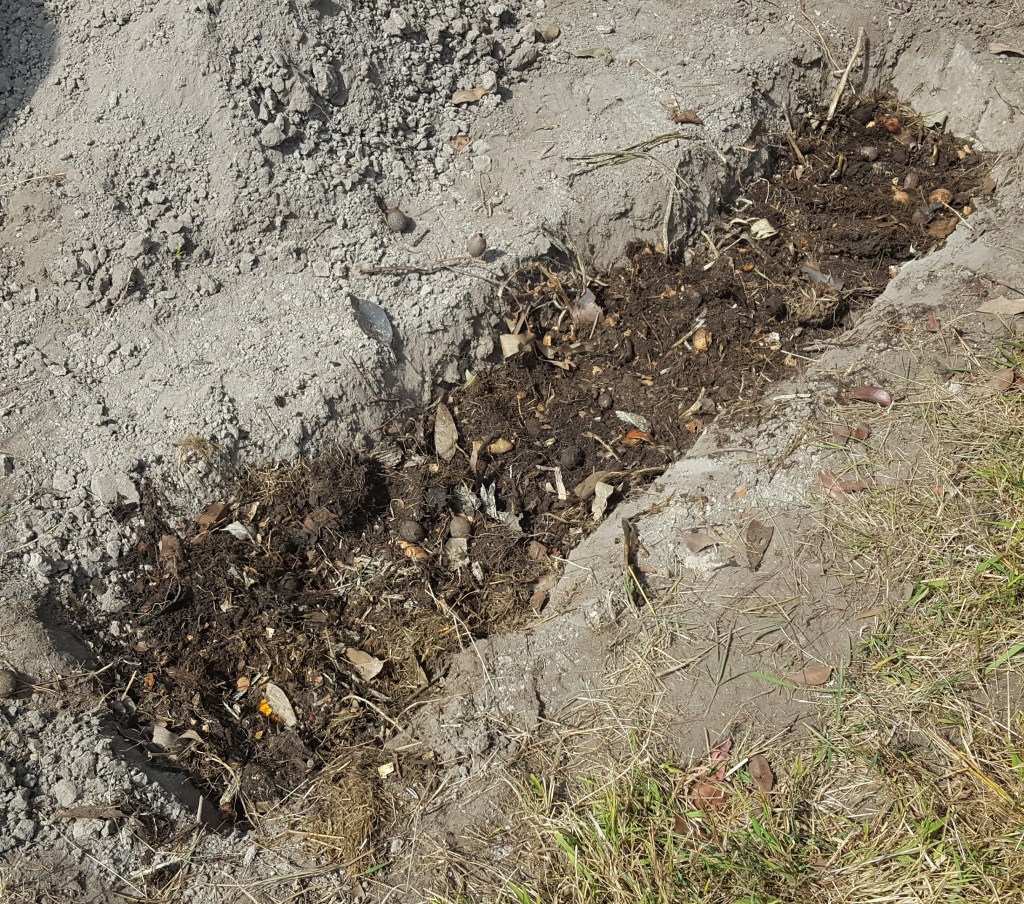
Above are some photos I took all those years ago of my hügelkultur experiment. The trench I had dug was filled with branches, sticks, leaves and compost, and then I covered it with native soil. I ended up digging three trenches for that one garden bed.
Over the next week, I will prepare the new garden bed I plan to add by repeating the process I used for the others. And I will attempt to deal with the mallow I seem to have growing everywhere. For next week’s post, I will show how you can recover seeds from your weekly grocery shop. So until then, have a good one, and I will catch you later.

Leave a comment