Hello, and welcome back. I hope you are all well and enjoying the changing of the seasons. As happy as I am that I get another chance at spring, I miss the Canadian autumn: the colours as the leaves turn, the cooler evenings, and Halloween. Halloween in the fall makes much more sense than in spring, as we do here. It’s a lovely time of year and quickly became my favourite season. But now I’m back in the southern hemisphere, so autumn is still a while away. And there is a lot to do between now and then.
Since my last post, I have been busy renovating my bathroom. As I said, this place needs a lot of attention, so with the bathroom being one of the larger jobs, I decided to tackle it first. This doesn’t mean I have forgotten about the garden, though. With this being the first time I’ve been able to put in a garden for three years, I didn’t want to waste the opportunity to get something growing. And with the cost of groceries here being as high as they are. Anything I could grow would be useful and help me save money.
When I haven’t been tearing down walls or removing tiles, I have been working on planning the veggie garden. Most of what I have so far has been figuring out what to plant and when and where to plant it. I know this may be seen as the least enjoyable or important part of gardening, but I consider it an important part of the process and one that can be just as enjoyable as any other part of gardening.
Because this isn’t the first time I’ve lived in this house, I’ve got a fair understanding of what works in the garden here and what doesn’t. I also know that the soil is pretty much made up of clay that closely resembles concrete. Back when I used to live here, my veggie garden took up well over half of the backyard, and getting it to that point took a great deal of work and taught me a lot. However, in my absence, the soil has returned to clay, so I will need to fix it.
If you don’t have this knowledge or understanding of your yard, don’t fret; most folks don’t, and with spring here, there is no better time to learn than the present, and the best way to learn is and always will be trial and error. To help keep track of what you learn along the way, I recommend getting yourself a notepad or journal. You can jot down all your observations and notes, write down what you plant, and note how it progresses as it grows. Even if you are up for it, you can draw little maps or diagrams of your yard. Having a gardening journal will make it easier to track what you are doing during the current season, but its real value is found when planning for any following springs as it allows you to reference your notes. And if you have to move house later on, it can also become a little memento, a reminder of the garden you used to have and your journey growing it.
The beginning
As with anything, the best place to start is the beginning. And to do that, you will need a plan. Start considering what you want to grow. Do you need seeds, tools or soil? Are there beds already available, or do you need to make/buy some? Knowing what you need to do or get at the beginning can save you a lot of time and money and help prevent any nasty surprises.
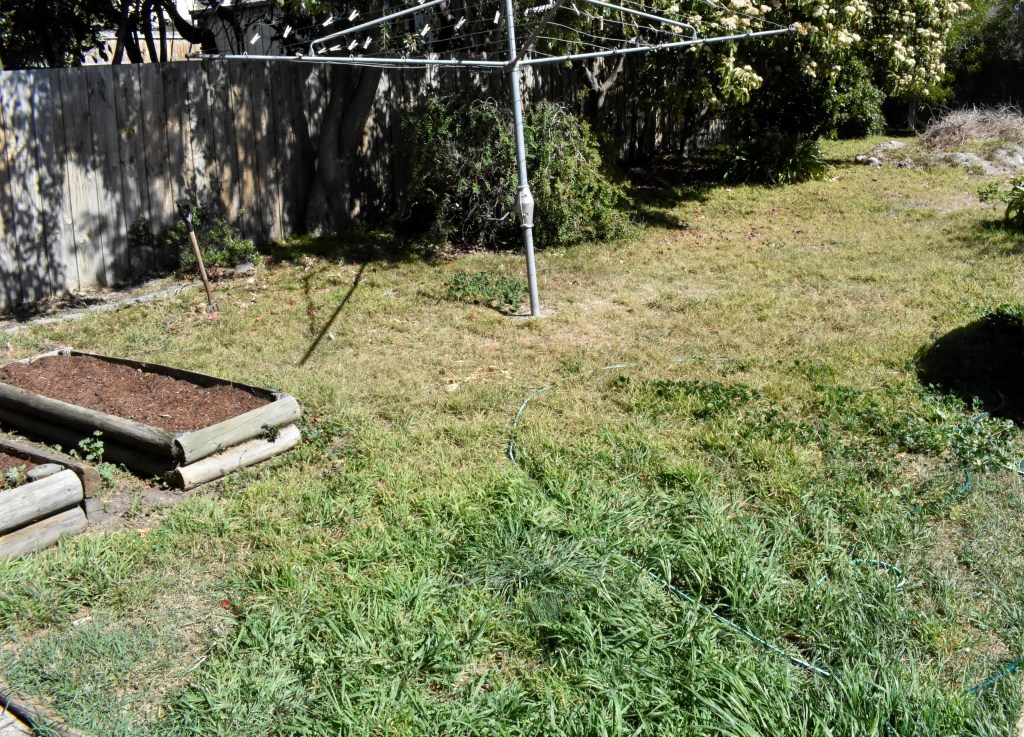
For example, a quick look at my backyard told me that I have two beds that need fixing; all three need weeding. I had to deal with the clay, top up the soil in the raised beds and buy gardening tools. Armed with that knowledge, I could figure out what I needed to buy or do to prepare the garden for sowing. All that was left to do now was to figure out what I wanted to grow.
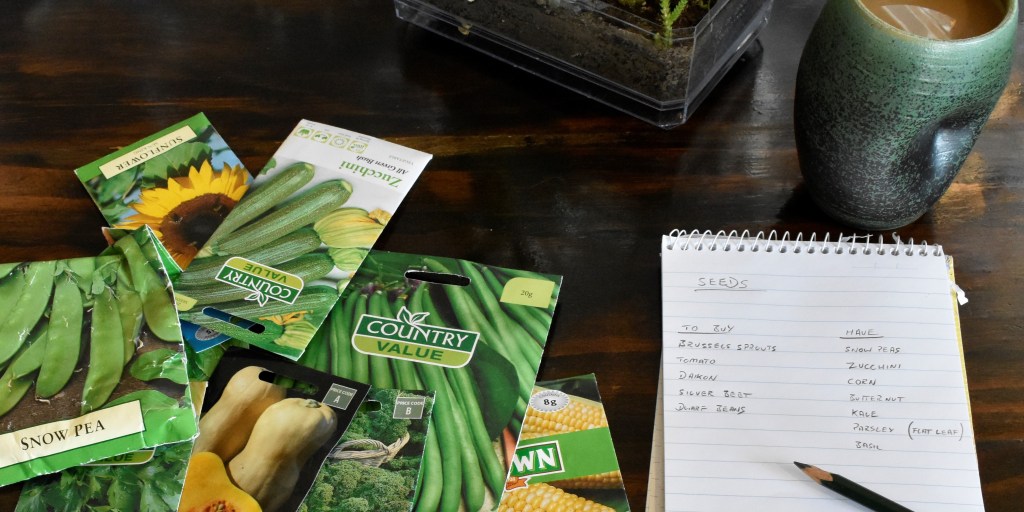
So I sat down one morning with a notepad, pencil, coffee, and an old box of seeds I found in the shed. And as I sorted through the seeds, I thought about what I wanted to grow, what worked previously, what I could try again and if there was anything I hadn’t tried yet that I wanted to give a go. I wrote any seeds I didn’t have onto a list so that I could pick them up the next time I went to the hardware store. Eventually, I settled on the following:
- Snow peas
- Brussel sprouts
- Tomato
- Daikon radish
- Silver beet
- Potatoes
- Kale
- Zucchini
I will add a few more vegetables to the list when summer rolls around, but I will start with this for now.
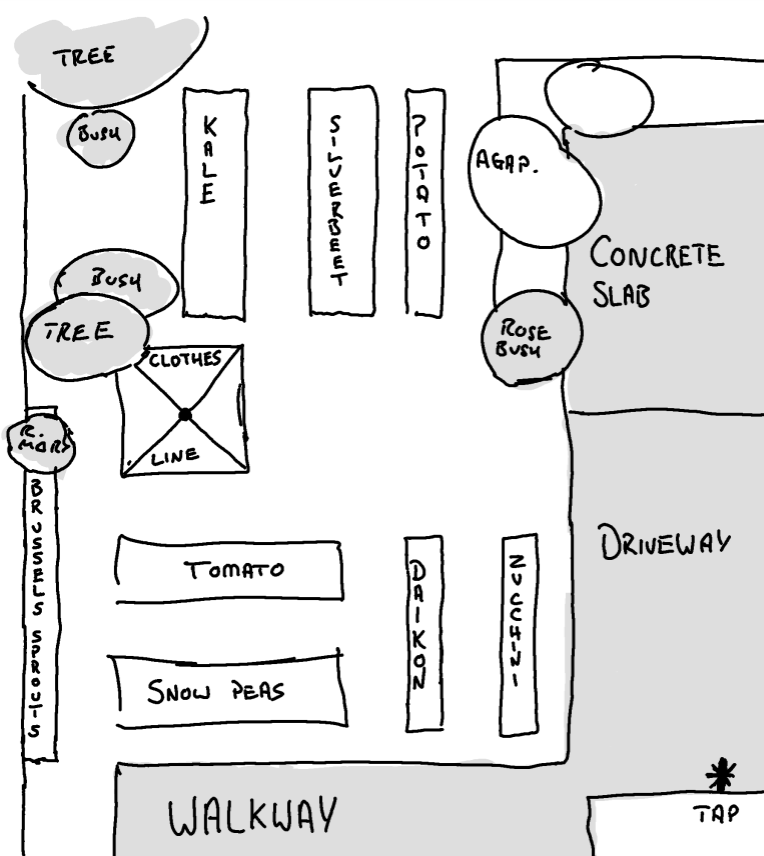
Once I had a list in mind of what I would grow, I drew a rough sketch of where I would place my garden beds and what I would put in them. When planning what to sow where it pays, look at your yard and figure out the sunny and shady parts. Not everything likes being in the full sun, so you must consider this when planning your layout. Another helpful point worth considering is your garden’s proximity to a water source. Ignore this point if you don’t mind having a lengthy garden hose. The first garden I put in this place was right up the backyard, at the furthest point I could get from the tap. Needless to say, I then had to go out and buy the longest hose I could, along with all the fittings it needed. Since then, my garden beds have been right up against the house, mere metres from the tap.
Now that I had a plan, I put on my boots and headed outside to begin work. The two timber beds in the yard got some extra nails and had a log replaced. I relocated the cactus plant to another garden bed and made a small cactus garden. And as an experiment I thought I would leave the few potato plants in, just to see what happens. Then, I added some fresh soil and threw in a few handfuls of fertiliser and gypsum.
The gypsum is excellent at helping to break down the clay. All you do is disturb the clay with a shovel of mattock, sprinkle and mix some gypsum, give it a good soak and let it sit. The only downside is that it can take a while to successfully break down the clay, generally a little over a month. Unfortunately, I can’t wait till then, so I will plant now and hope for the best. Given the state of the soil here, all my beds will need a good helping of gypsum. When mixing gypsum into clay soil, you must also add some compost or low-nitrogen organic matter like wood chips. This helps to attract bugs, worms and bacteria that break down the organic matter and help turn it and the clay into healthy, productive soil. Because of this, I would usually add a few generous shovels of compost, but unfortunately, the compost bin here has been all but forgotten, and there is nothing I can use there, so I will need to purchase some before I start sowing seeds. That’s another couple of jobs for my never-ending “to-do” list.

And that brings you up to speed. I’ve repaired some garden beds, tidied up the yard a little and figured out what I will be growing. At some point in the next few days, I will dig and prep the remaining beds. And if all goes according to plan, I can start sowing seeds this weekend. Until then, have yourself a good one, and I will catch you later.

Leave a comment