Hello, and welcome back. I hope that life is treating you well regardless of where you are in the world. As for me, here in Vancouver, things have been warming up as we get closer and closer to summer. Given that this will be my last summer in Canada, I am busy at the moment, planning a few hikes and camping trips so I can make the most of the time that I have before I have to leave.
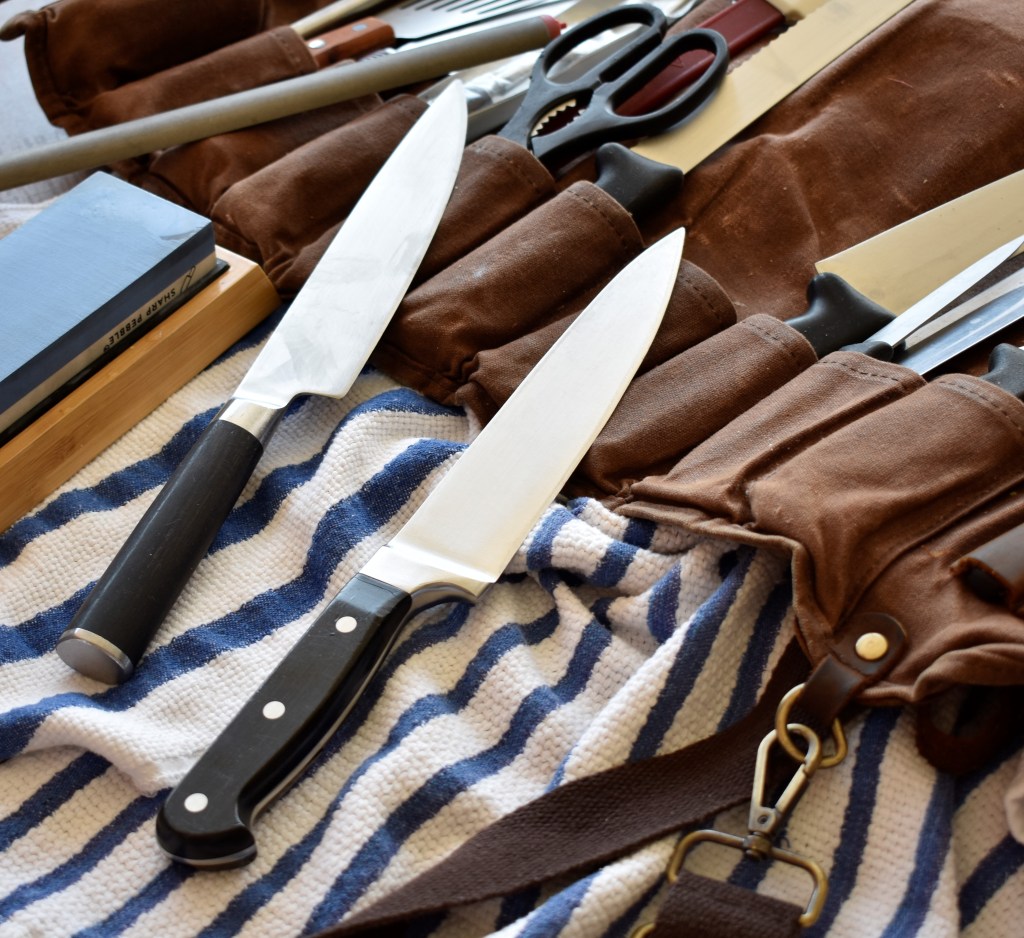
The other day at work, I noticed my chef’s knife was getting dull as I was cutting up vegetables ready for service. And I know that after cutting up those chickens last week, my knife at home needed a touch-up, so today, I thought we could look at another great skill to learn and practice: sharpening your knives at home. This works well with your knives at home; most edged tools can be sharpened in the same or similar manner. Below I will lightly cover the pros and cons of three ways to sharpen your knives and give directions on how I maintain my own.
I find that a lot of people can be funny about sharpening knives. Of course, some refuse to do it themselves and will take their knives to a store offering sharpening services. Then others will buy a pull-through sharpener, use it once, lose it in the back of a drawer somewhere, and forget about it altogether. Some folk will never sharpen their knives and keep using the same blade forever. And then lastly, you have the people who obsess over their knife’s edge and have an entire draw full of whetstones of various grades. Thankfully, I am somewhere between the first and last examples. I don’t mind doing it myself, as it can be relaxing and enjoyable, and a dull knife does annoy me. But I also don’t mind paying someone to do it.
“But why do I need to sharpen my knives?” I hear some folk moan, “Can’t I just buy a new knife?” There are many benefits to maintaining a sharp edge on your knives.
- The knife lasts longer.
- A sharp knife is safer than a dull knife.
- It is easier on your hands and wrists as a sharp knife allows the blade to do most of the work so you don’t have to force it.
- And finally, if a good knife is looked after and maintained well, it can become an heirloom piece.
An example is a chef I worked with who used a knife he had gotten from his grandfather. His knife was not only larger and thicker than most knives nowadays but looked as if it had seen a great deal of use as the years of sharpening had made the blade smaller than it should have been, and it had a beautiful old-style wooden handle that added a great touch of character. As much as I can gush over this knife all-day, my point is that it was a one-of-a-kind tool that stood out from the smaller plastic-handled knives of today. Not only had his grandfather used and cared for this knife, but this chef continued to do the same. Personally, I think we need more tools and possessions like this, especially in today’s disposable society. An heirloom like that becomes a possession that is worth having as it maintains a link to a passed loved one. A link that, unlike a photo on the wall or ornament on a shelf, is stronger as it is attached to a more practical item that, with each use, reminds you of your passed family.
The three types of sharpening
- Paying someone.
A quick search on Google has shown several knife-sharpening businesses in my area. Two are within walking distance, one is a mobile service and the rest I can reach by transit. Of course I live in downtown Vancouver so I will have more options than people living in rural areas. And although some could (and I know plenty who would) shake their head at this option, preferring folks to sharpen their own. I have listed it as it is still a good and sometimes inexpensive way to get the job done. Back in Tasmania, there is a little knife shop I used to live that offers an excellent sharpening service. It was ten dollars for a blade, and every three or four months, I would take my two work knives and a knife from home and for thirty dollars, they would be given a fantastic edge that would keep me going for another three or four months. When I was a lot younger and just beginning my apprenticeship, I regularly visited this store to buy new tools, and they were more than happy to offer tips on how to sharpen and care for my knives. These stores can be a wealth of information and great advice for those learning to maintain their edged tools
The downside to a sharpening service is that most of them will need you to drop off your knives for a day or two until they are finished. And that may leave you without a knife, or if you are living remotely, you will have to make an extra trip back or wait until your next trip into town to collect them, whenever that may be.
- A pull-through sharpener.
Pull-through sharpeners are a pretty popular and easy-to-use tool. And I can see why; All they are is a small box or handle with a series of groves. And as the name implies, you pull your knife through one of these groves, giving you a new edge. You can also get a mechanical version if you want to spend some money. The problems, however, are that these can give an uneven edge and shorten the lifespan of your knife, as each time you sharpen it, they take off more metal than sharpening with a whetstone would. They can even take chunks of metal out of your blade if misused, giving it a rough and jagged look.
- Using a Whetstone

By far the best way to help you maintain your knives and edged tools. It can take a bit of practice to get the hang of it, but once you have it down pat, it can quickly become one of your favourite jobs. Whetstones are relatively inexpensive and can last a while, pair a good stone with a honing steel, and you will have no trouble keeping your knives sharp. As with anything, there are negatives to this as well. I can take a while to learn the best method of using a whetstone. And it does take considerably more time to sharpen a knife with a whetstone than a pull-through sharpener. With time and practice, you will be able to learn and see the benefits of this method.
When I arrived in Canada, my town didn’t have a sharpening service, so I had to buy a whetstone and sharpen my own knives. And this is what I will be sharing today, how to use a whetstone and honing steel. Thankfully you don’t need a lot for this, and the bits you do need are cheap.
You will need a whetstone. They sell for roughly thirty to forty dollars online; your local hardware or knife store will also have them. You will need one that has both a coarse and fine grit, And you will also need a honing steel. Depending on its type, style and size, these can cost anywhere from fifteen to well over one hundred dollars. You will be fine with the cheaper option; it will do the same job as the more expensive one.
- First, you will need to cover the whetstone with water and soak it for roughly 20 minutes. If it comes with a rubber or silicone slip-proof mat, mount it to it. If it doesn’t, feel free to use a dishcloth or tea towel. You just need something to stop the whetstone from sliding about as you sharpen your knife.
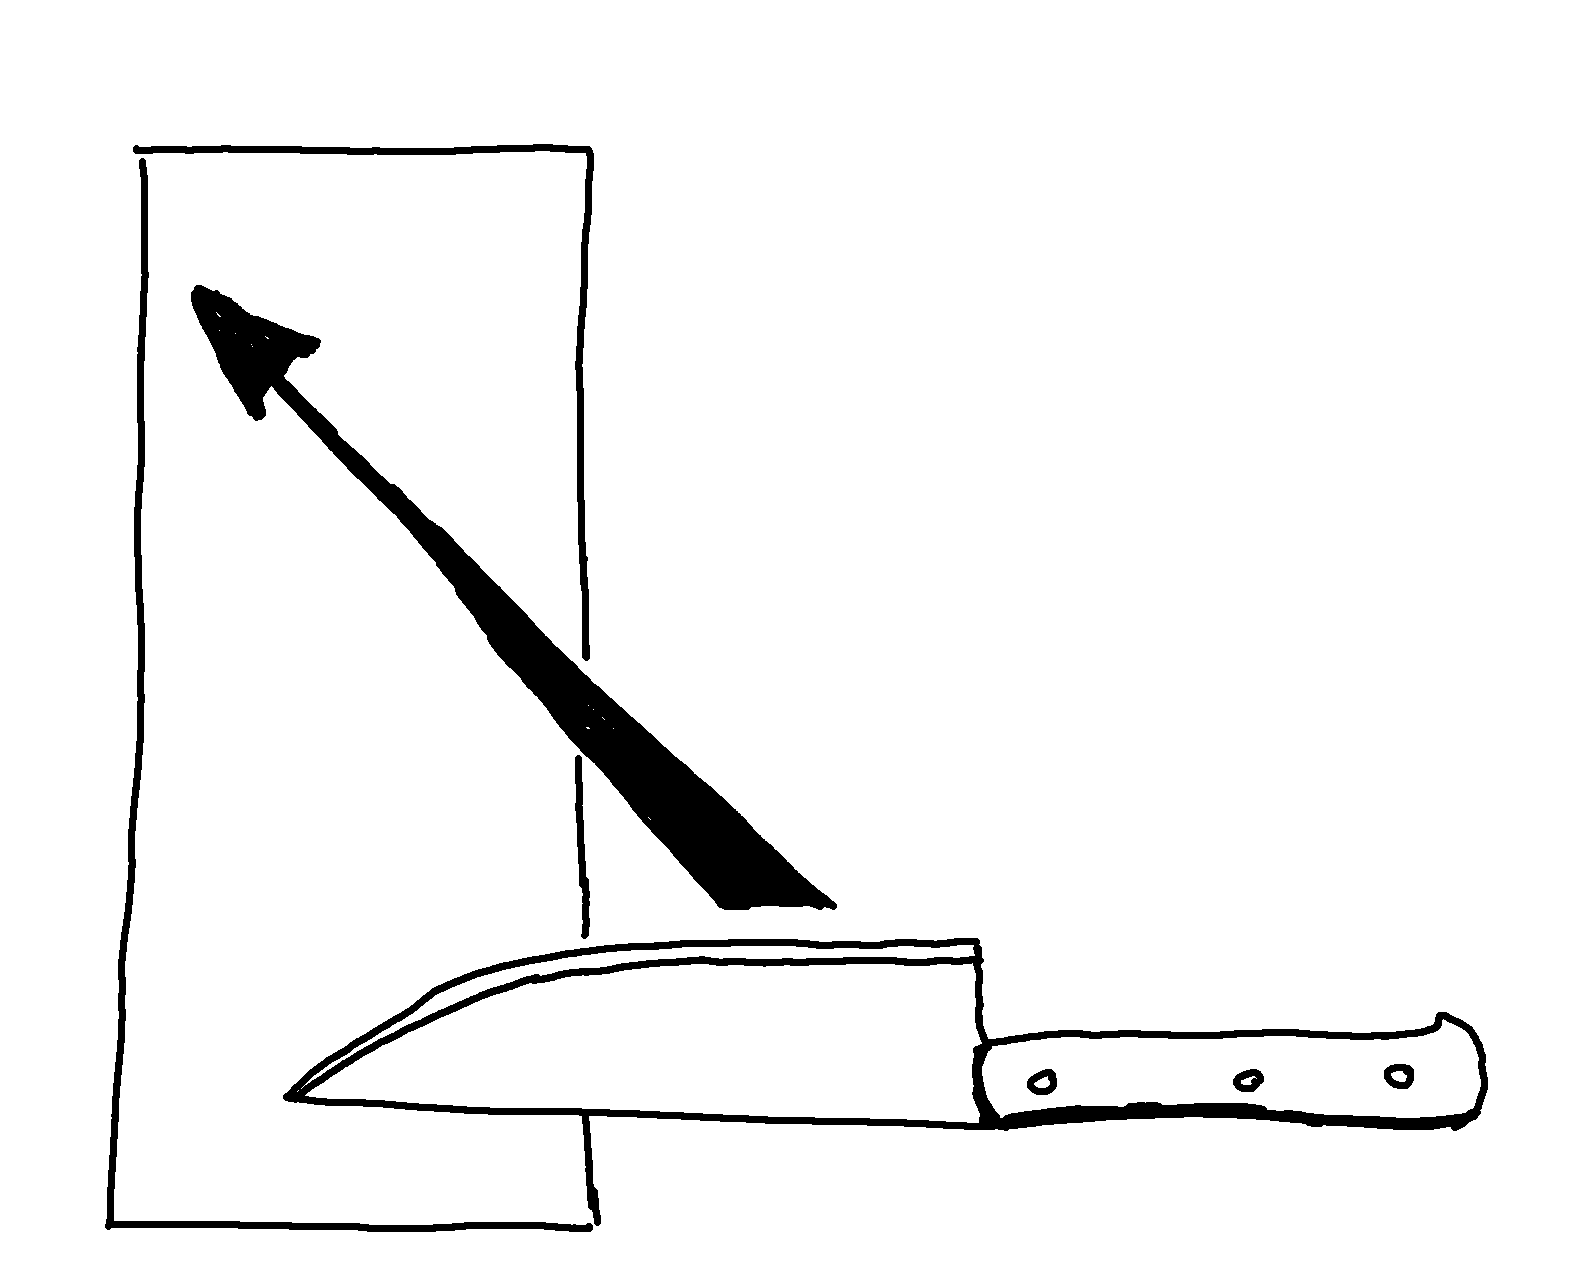
- Hold the knife over the whetstone and angle the blade between ten and twenty degrees. Using both hands to hold the knife, slide it forward diagonally while gently applying a little pressure. When you have completed one stroke, flip the blade over and slide it forward again.
- Repeat this as many times as you need. It helps to sprinkle a few drops of water over the stone as you sharpen. When you think the knife is close to where you want it, turn the stone over and repeat the same process on the fine-grit side of the stone. This helps remove burs and improves the edge of the knife.
- You can test your knife’s sharpness by gently slicing a piece of paper. Hold a piece of paper up in your non-master hand and with the knife in your master hand. Position the blade at the paper’s edge and gently slide the knife through and along the paper. It should cut smoothly and effortlessly slide through. You must keep sharpening it if it catches or has trouble cutting through the paper. My favourite method of checking your blade’s sharpness can be done if you have hairy arms. Try shaving the hairs off with the knife on the top of your forearm. They will be visible on the blade, and you will be able to feel how smooth the shave is and whether or not you need to keep sharpening.
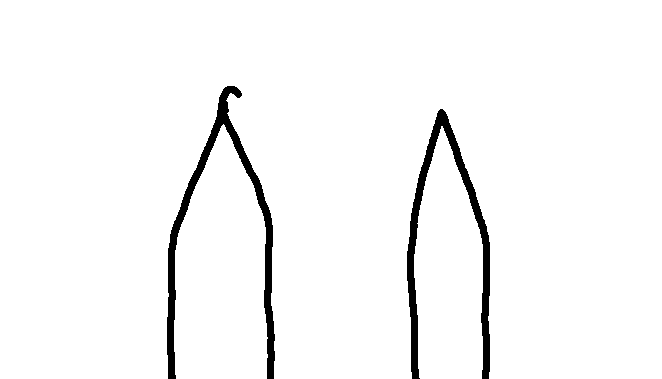
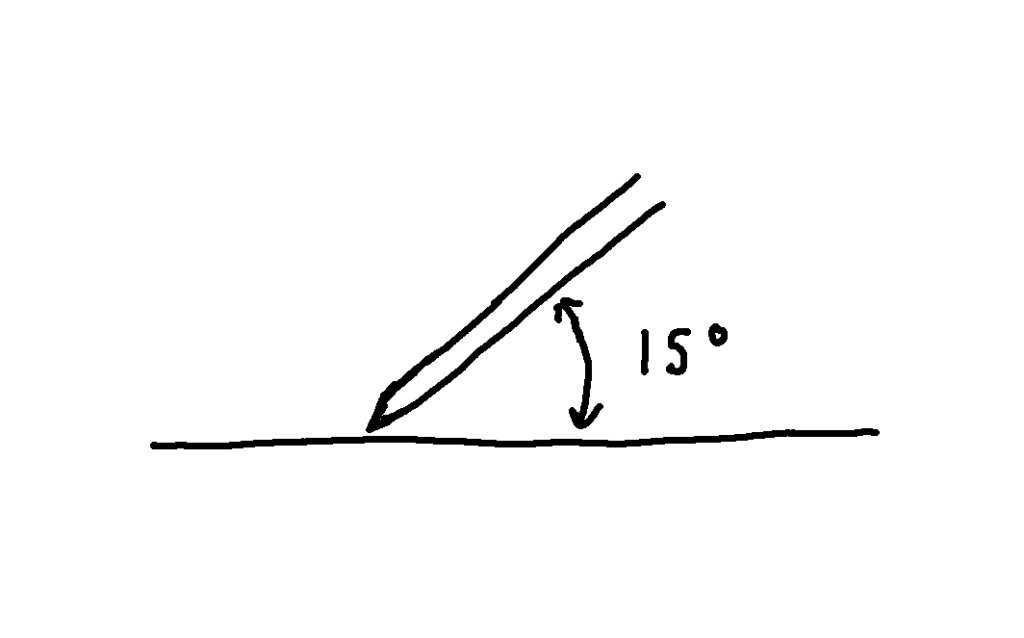
- Once you feel confident you’re finished with the whetstone and are satisfied with how sharp the blade is, you will need to use the honing steel to remove any burrs and help smooth out the blade’s edge. A burr is when a small piece of metal curls on the blade’s edge. You can feel the burr as you rub your finger on the blade; you will feel your finger catch on it. Hold a steel in your non-master hand and position the knife at the top of the steel. With the blade at a fifteen to twenty-degree angle slide the blade down the steel, ensuring that as you do so, the entire length of the blade slides along the steel. Then repeat this on the opposite side. You should only need to do this a few times.
- Once you are happy with how sharp your knives are, gently wash and sanitize them and put them away along with the honing steel. Place the whetstone in a sunny, airy place to allow it to dry out. Once it is dry, it can be packed away.
And that right there is how I sharpen my knives. It generally doesn’t take me long, And because I usually sit down with a cup of coffee and put a movie on, I wouldn’t mind if it did. Now I must stress that you are handling knives, so you must be careful. As with any tool, you will be fine if you treat a knife with the respect it deserves.
Until next time, have yourself a good one and I will catch you later.

Leave a comment