Hello and welcome back, I hope you are all doing well.
As I sit here and type this I can’t help but look out of my window at the grey and rainy day that I am faced with. As much as I love the rain, I am also guilty of occasionally using it to justify a day at home, relaxing about the house or playing with ideas and cooking in the kitchen. And today I decided to do just that and do a bit of baking, more specifically I’m baking bread.

Baking whether it be biscuits, cake or bread is a useful skill to have when you are looking at homesteading. say you have a friend drop in for a surprise visit? Whip up a quick batch of biscuits to have with tea or coffee. You’re invited to a friend’s place for a visit, bake a cake to take along, after all no guest should arrive empty-handed. Regardless of the reason why you are baking, baking at home is just another way you can control what you eat and remove the reliance on store-bought goods. And who knows you may find that you really enjoy it and want to take up baking or pastry making as a hobby. It can seem daunting at first but once you find a recipe and technique you like and get a feel for it, it can be a relaxing experience, one that I enjoy. I would often make a few loaves when I had friends coming for dinner so we could have them with our meal. Like with anything else you make or do yourself, its an amazing feeling to be able to see, handle and in this case, eat the fruits of your labours, especially when those fruits are still warm and have a bit of butter spread onto them.
One great benefit of homemade bread is that you end up with a product that not only tastes superior to store-bought but is better for you as there are no additives and preservatives. A basic loaf of bread has as little as 4 ingredients flour, water, salt and yeast. If you want to get a little fancy you can add or change some of those ingredients. If you don’t want white flour, swap it out for wholemeal, I like to mix in some herbs, sundried tomato and olives for a nicely flavoured “pull apart” loaf. Another benefit is that it is cheaper than store-bought, yes it takes a little more time to make than driving to your local store, but if you make a few loaves at the same time and freeze some of them they can last until needed.
Basic bread.
- 3 ¼ cups of plain flour
- 1 sachet of instant yeast (8gm)
- 2 tsp of salt
- 1 ½ cups of warm water
Method
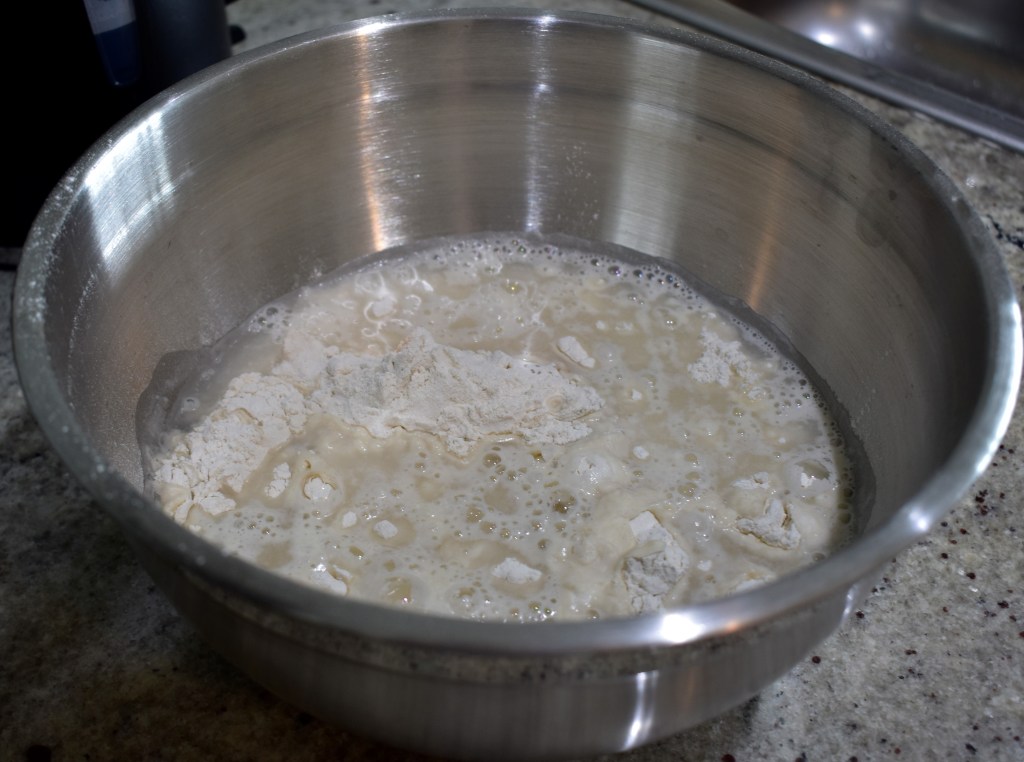
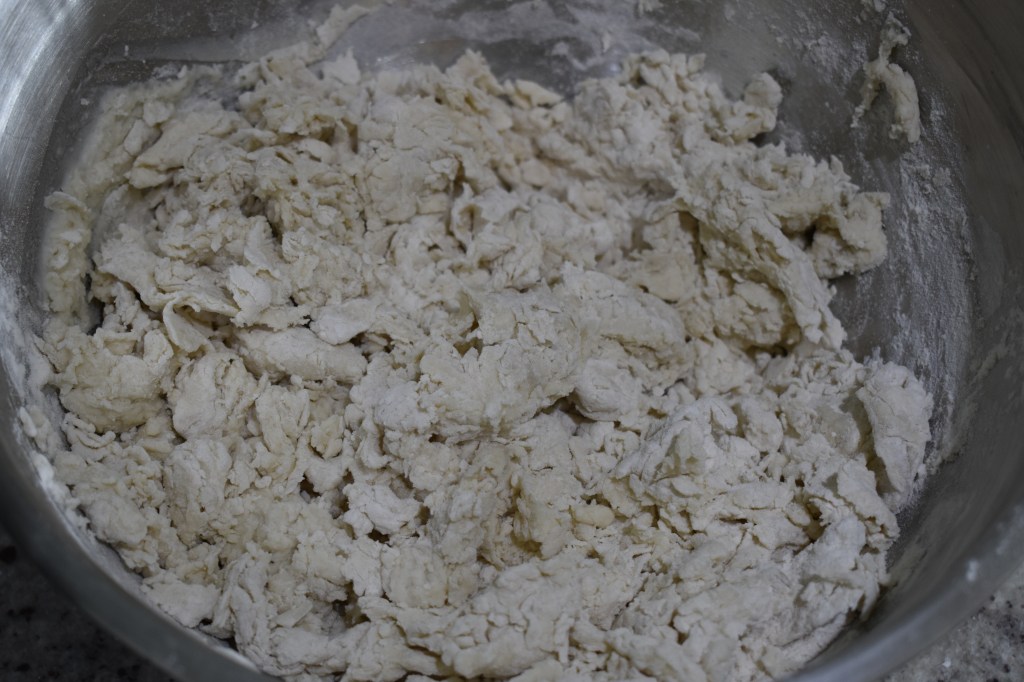
- To start with put the flour, salt and yeast in a mixing bowl and then pour in the warm water. Using a wooden or plastic spoon, mix until the water is combined with the flour and the dough looks “flaky”. Tip the dough onto a clean bench and knead until you end up with a smooth ball of dough. Alternatively, if you have one, put everything into a mixer with a dough hook and let it work its magic until the dough is smooth.
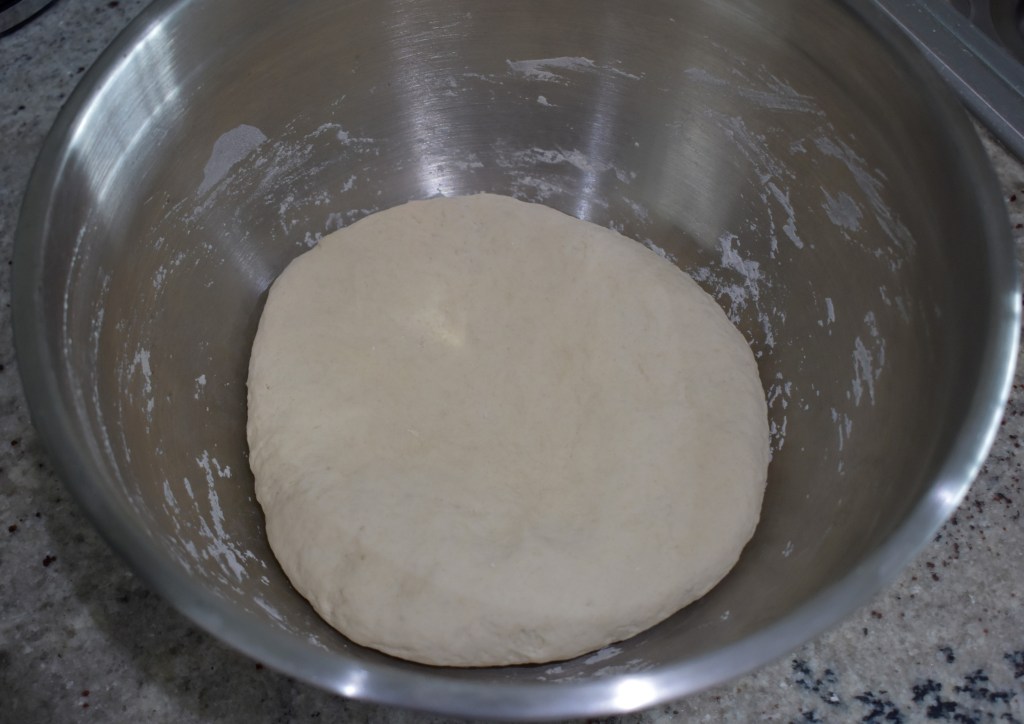
- Place the dough back into the bowl and cover the bowl with cling wrap, foil or a towel. Place it in a warm part of the kitchen (room temperature is fine) and allow the dough to rise. This can take 2-3 hours and the dough should double in size. the ball should double in size.
- Lightly dust a baking tray with flour or line it with baking paper, if you prefer to use a loaf tin, grease two tins with a little bit of oil or butter. Tip the dough out onto a bench that has been lightly dusted with flour and knead it again for a few minutes. Roll the dough into a ball and then cut it in half. Shape each half into a rough loaf and place them on the prepared tray or loaf tin. Cover with a towel and allow to rest for 45 minutes.
- During this time preheat the oven to 250°C (475°F)
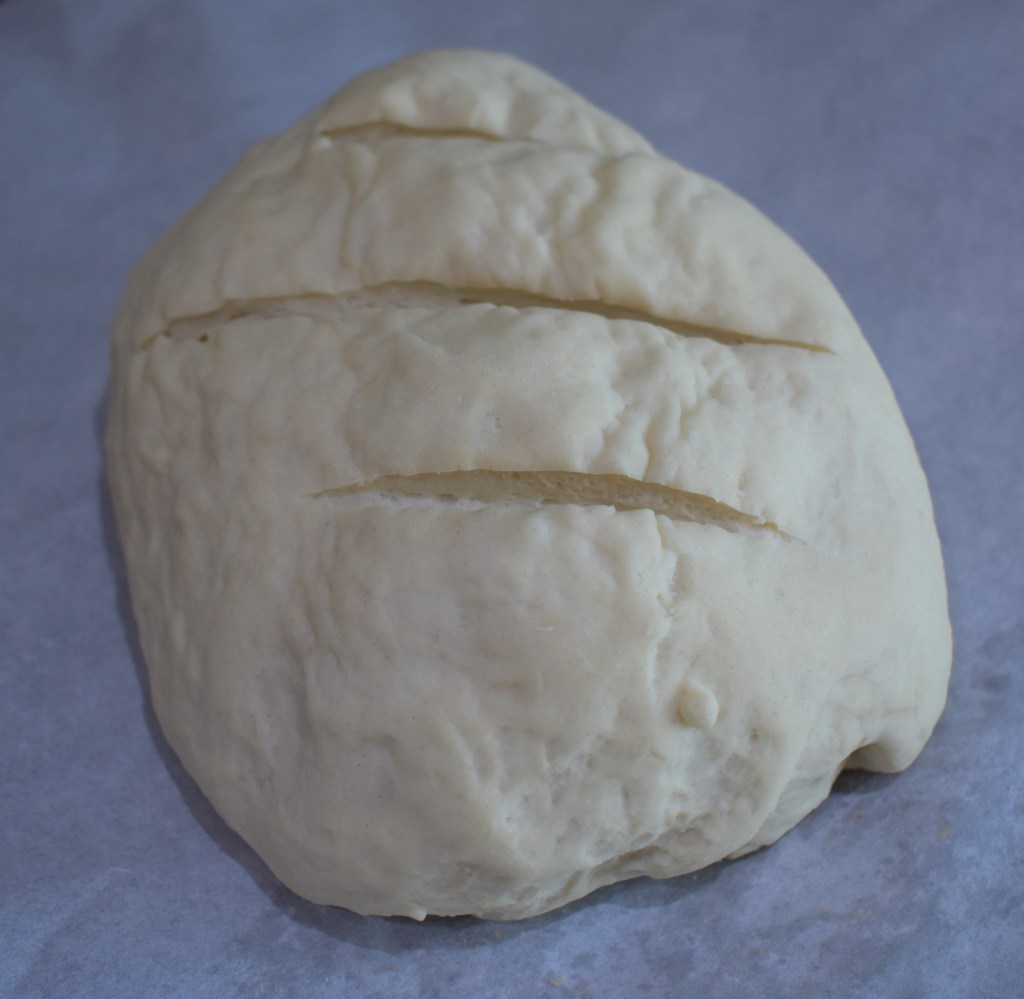
- When your oven is warm and the loaves have risen again, get yourself a knife and slice 2 or 3 (depending on size) cuts into the top of the loaves. Then place the loaves on the centre rack of your oven and bake for 20-25 minutes until the bread turns a nice golden brown. A great way to check if the loaf is cooked through is to turn it over and tap on the base if it sounds hollow it’s done.
- Remove the bread from the oven, placing it on a rack and as hard as it sounds allow the bread to cool for 5 minutes before you start eating it.
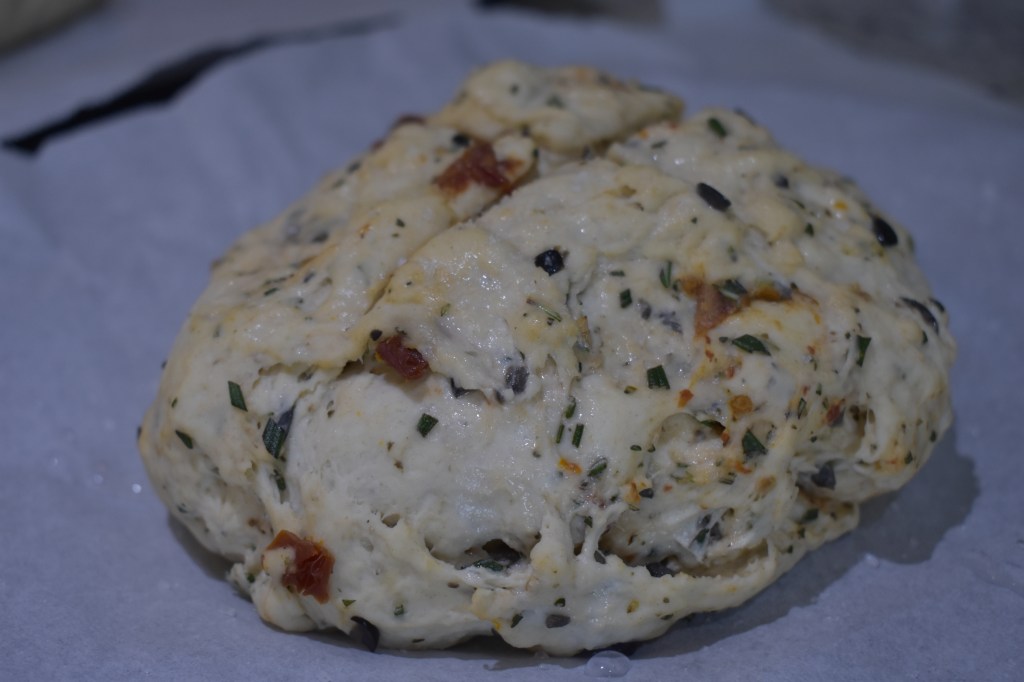
Usually, when I am making a pull-apart loaf I will add the extra ingredients during step 4 during the final kneading. As you can see from the photos, I left one loaf plain and in the other one added a couple of diced olives, sundried tomatoes and a bit of fresh rosemary. When adding extra ingredients like sundried tomatoes make sure to drain off as much of the excess liquid as it can add too much moisture to the dough.
And there you have it, that’s as easy as it gets when it comes to baking bread. For one final tip, I advise making more than you need, having an extra loaf is recommended, this is called the sacrificial loaf. Once the bread is pulled from the oven you and whoever is with you at the time won’t be able to resist eating it. I hope you enjoy trying this recipe and I wish you luck with your first batch. Until next time, have yourself a good one and I will catch you later.

Leave a comment